
Picking the right fall ombre nail colors can feel overwhelming. You stand in front of a wall of polish, and every shade starts to blur together. Should you go warm? Cool? Bold? Soft?
Here is the good news: fall shades were basically made for ombre nails. Browns, wines, rust tones, and olive greens blend into each other so naturally that even an imperfect gradient still looks intentional. A slightly uneven blend just reads as “moody and artistic” instead of a mistake.
Below are eight fall ombre combos that consistently look beautiful, along with simple tips to avoid muddy gradients, match your undertone, and get the look through a salon visit, press-on nails, or a quick DIY session at home.
8 Fall Ombre Nail Color Combos That Always Work
1. Burnt Orange to Nude
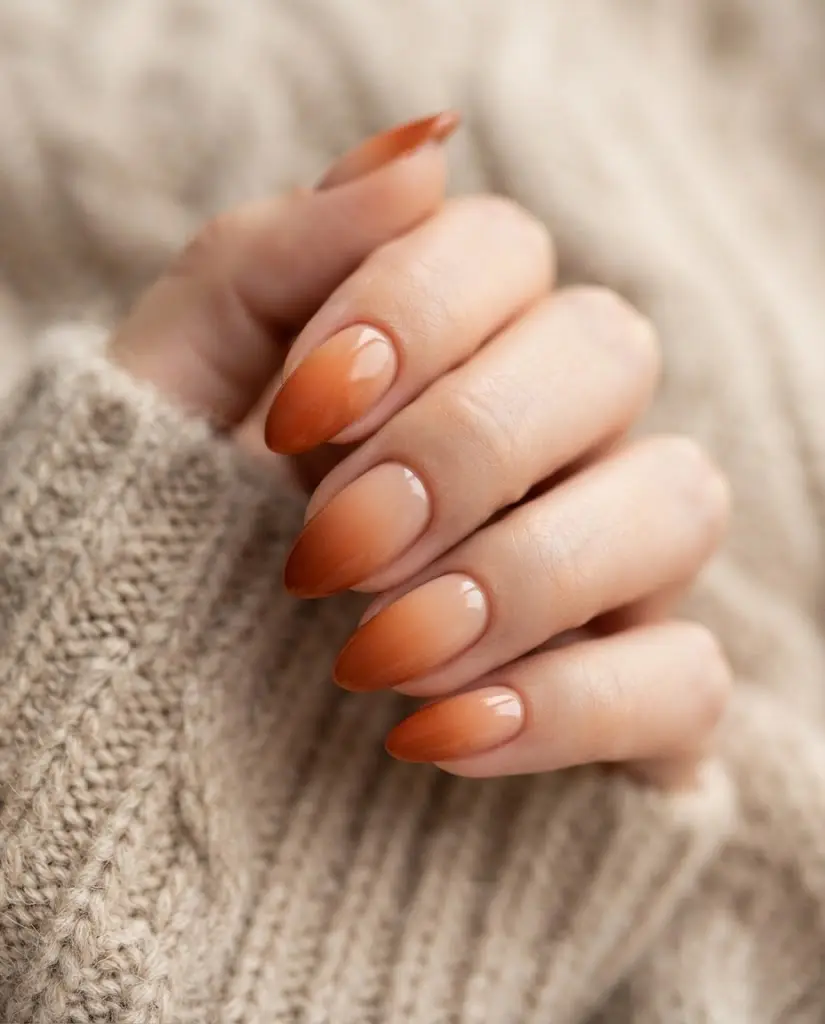
This combo is the “wearable sunset” of fall manicures. Burnt orange near the cuticle fades into a soft nude tip, creating a look that suits nearly every skin tone. It pairs effortlessly with denim, chunky knits, and your go-to autumn coffee order.
If you only try one look on this list, make it this one. It is the safest bet with the biggest payoff.
2. Caramel to Chocolate
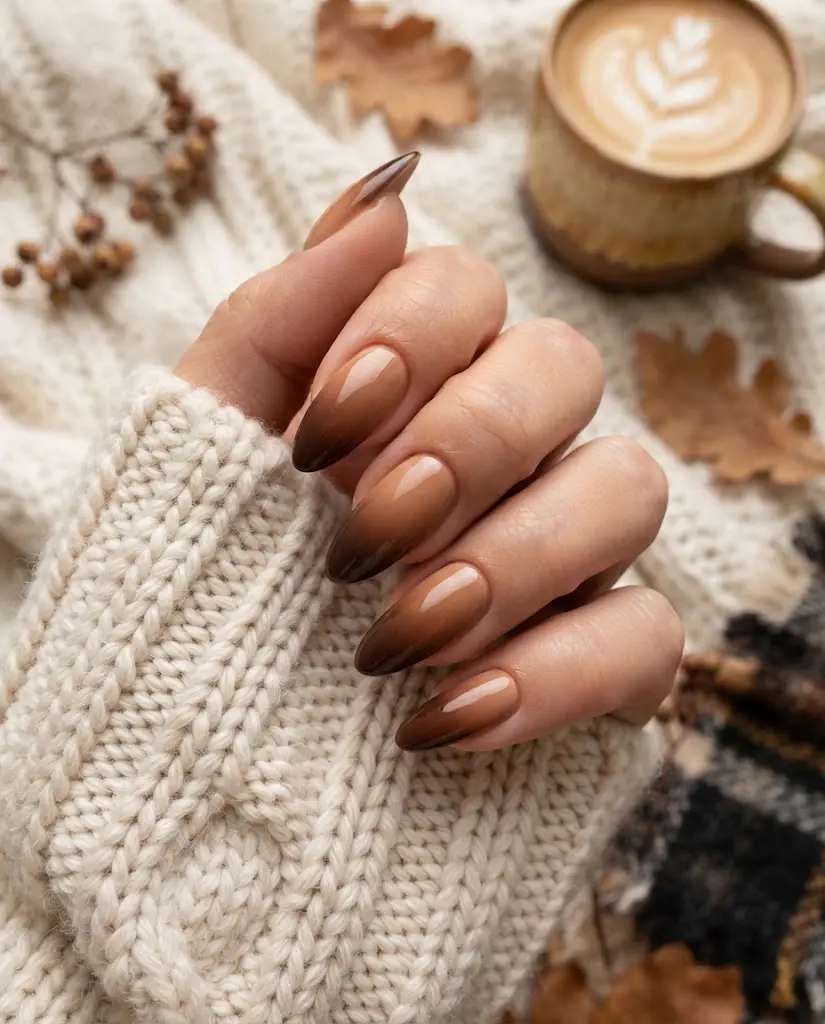
Caramel blending into deep chocolate brown captures cozy season perfectly. Since both shades belong to the same brown family, your fade does not need to be flawless. Small patchy spots simply add texture and depth instead of looking like an error.
3. Rust Red to Amber
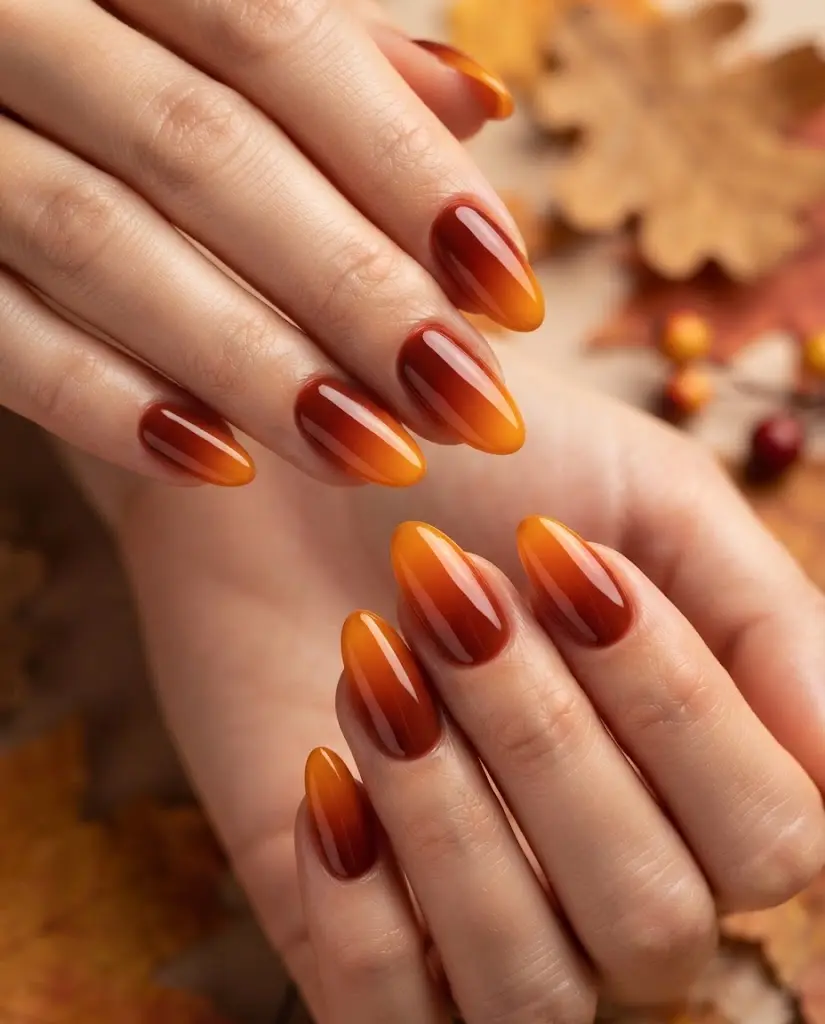
This pairing has serious main character energy. Rust red at the base transitions into a warm, glowing amber at the tips, creating a bold statement without needing any extra nail art. It looks especially striking on long nails, but medium lengths pull it off beautifully too.
4. Deep Wine to Burgundy
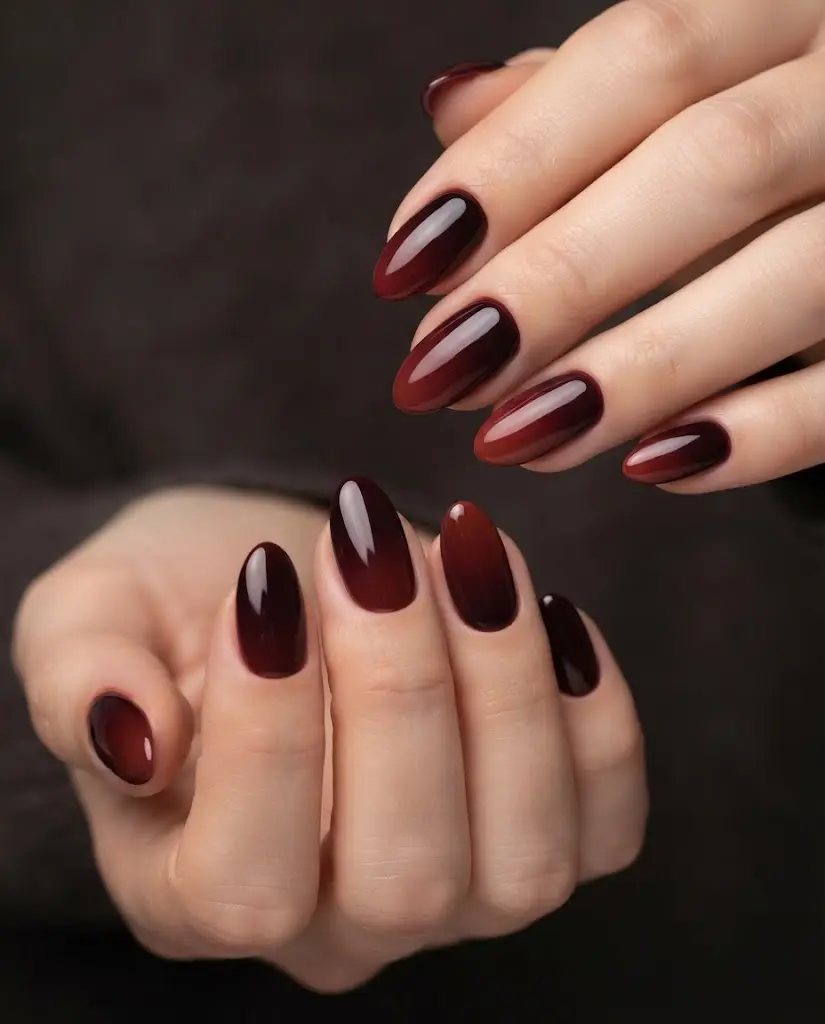
If autumn had an official manicure, this would be it. Deep wine fading into rich burgundy feels expensive and a little mysterious.
- Glossy finish: looks rich and juicy
- Matte finish: looks modern and edgy
Either way, this combo instantly elevates your whole look.
5. Cozy Beige to Mocha
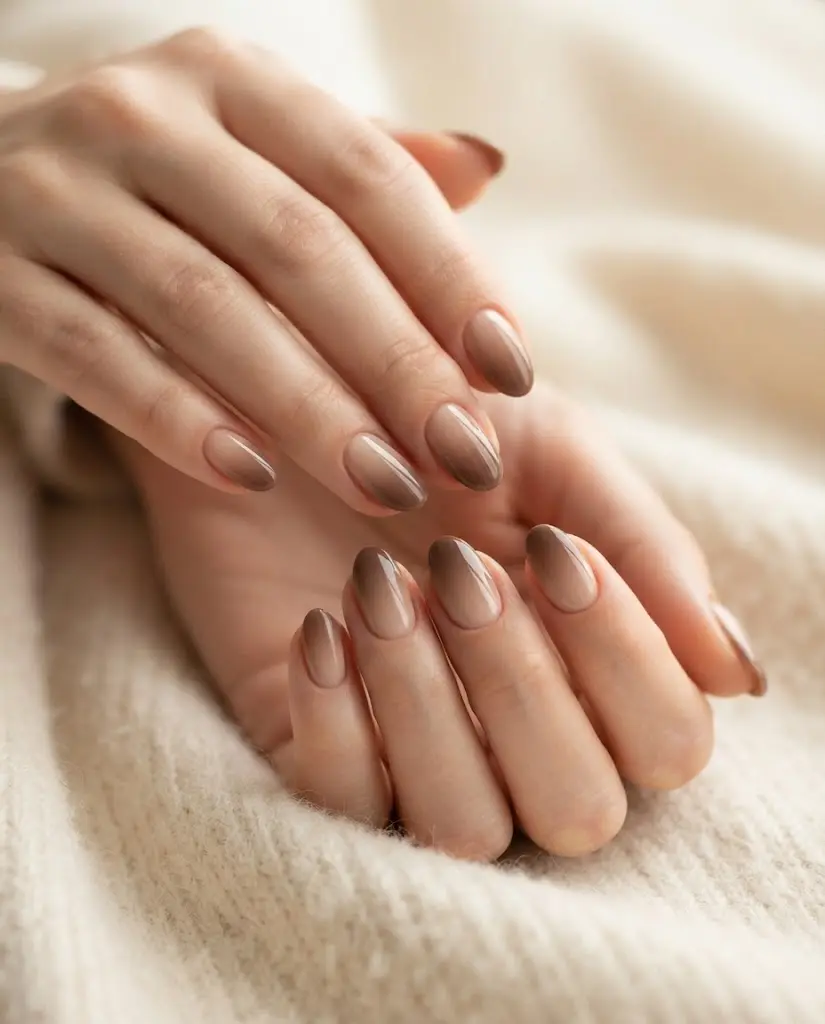
Perfect for anyone who wants fall vibes without an over-the-top manicure. Beige fading into mocha feels soft, warm, and completely office-appropriate. Think of it as the manicure equivalent of a cashmere sweater: simple, polished, and always in style.
6. Olive Green to Gold Shimmer
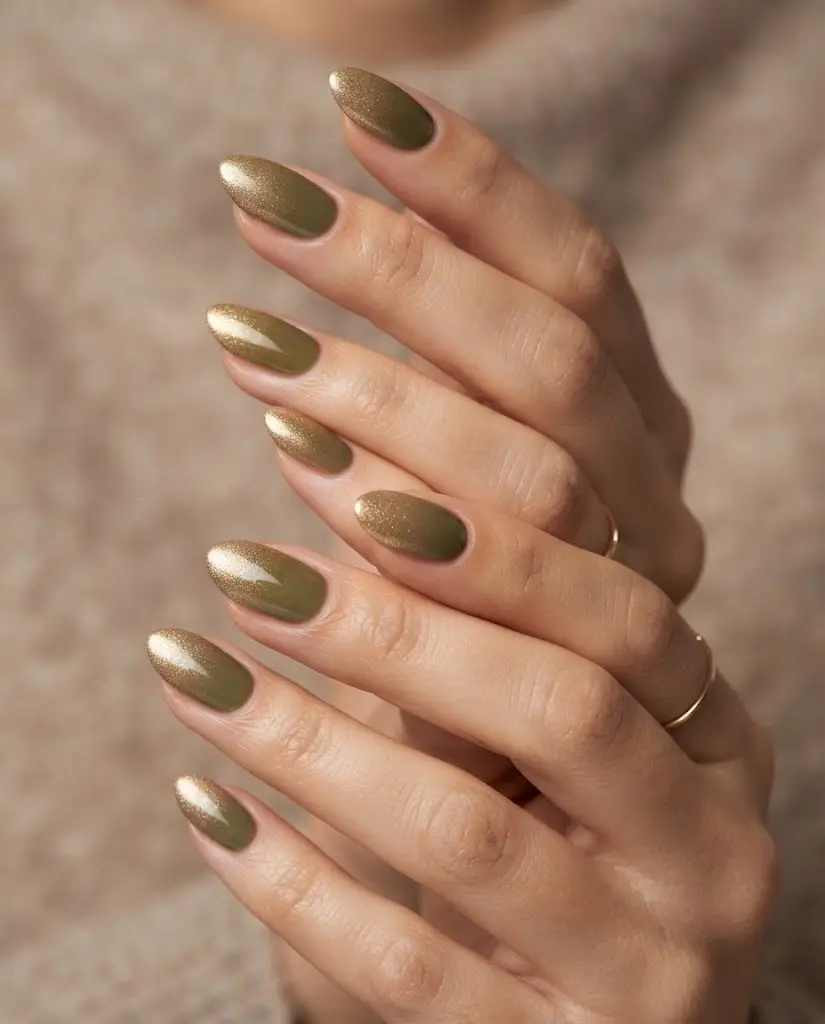
Looking for something beyond the usual orange and brown palette? Olive green fading into gold shimmer is a fresh, elegant switch-up. The olive keeps things earthy while the gold catches the light beautifully.
One tip: keep your olive shade clean and true. A muddy olive can quickly start looking dull instead of chic, so choose a polish with a crisp, defined green tone.
7. Plum to Lavender or Mauve
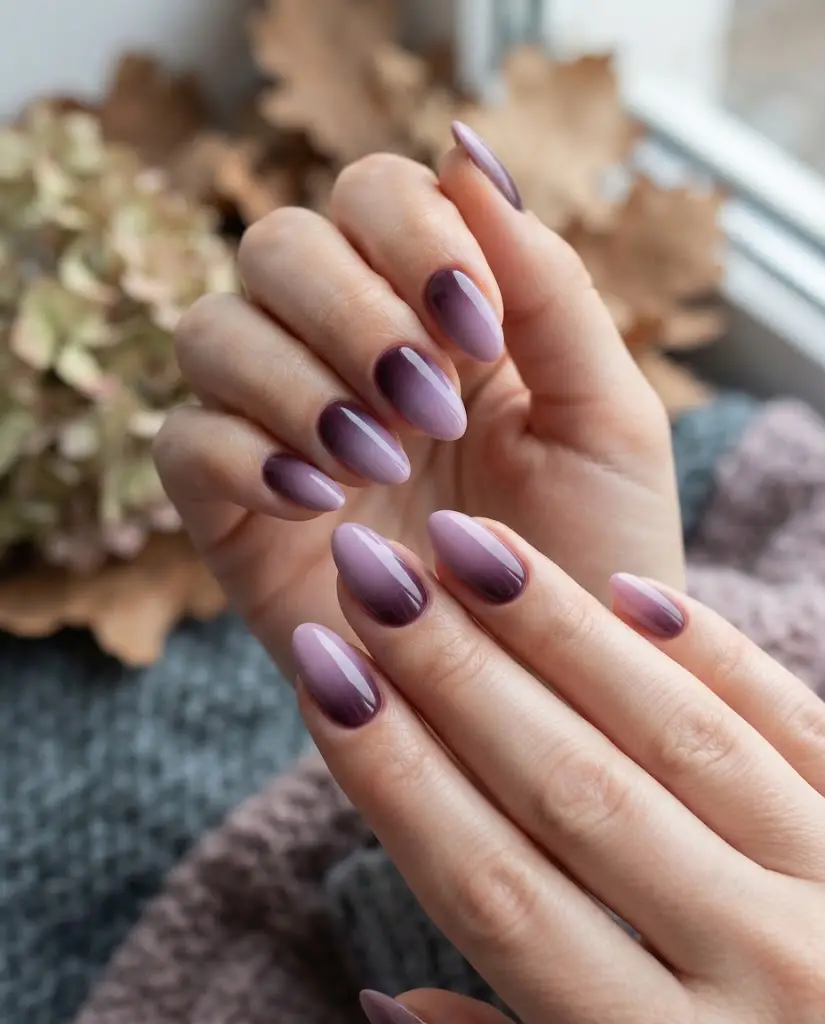
This is the romantic option on the list. Plum fading into lavender or mauve feels moody without leaning too dark. It works especially well for fall evenings when you want a break from another brown manicure.
8. Navy to Charcoal Gray
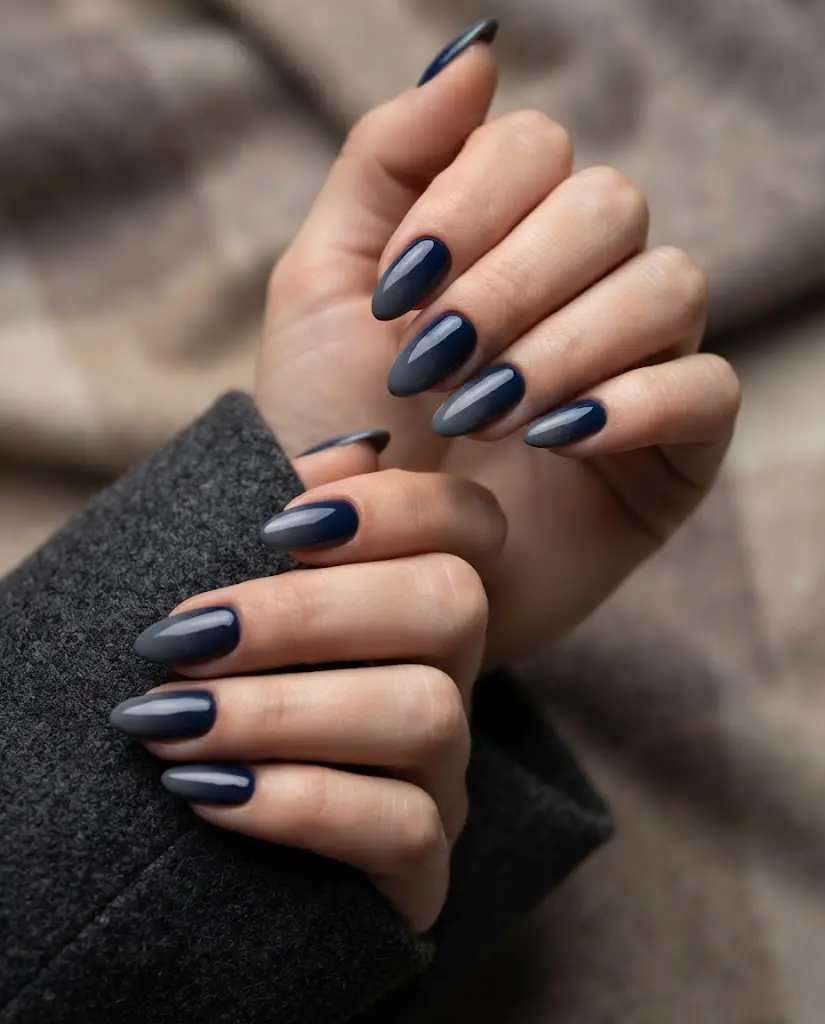
Cool, sleek, and effortlessly chic. Navy fading into charcoal gray feels like a crisp tailored jacket under good lighting. If warm autumn tones are not your style, this combo still feels completely seasonal.
Why Your Ombre Might Look Muddy (and How to Fix It)
Problem 1: Your Colors Are Clashing
A simple rule fixes most muddy gradients: choose shades that sit close together on the color wheel or belong to the same color family.
Easy combos that always work:
- Monochrome fades (beige to mocha to espresso)
- Adjacent tones (rust to amber)
- Same-family shades (plum to mauve to lavender)
Combos that often turn muddy:
- Opposite colors blended together, like orange and green, unless you have real experience blending polish
If you want to try a trickier pairing, use a third “bridge” shade in the middle. This creates a smoother transition between two colors that would otherwise clash.
Problem 2: Light Color Placement Is Backward
Try flipping your placement: keep the darkest shade near your cuticle and the lightest shade toward the tip. Dark tones recede while light tones pop forward, which makes your nails appear longer. It works the same way contouring works on skin, just for your hands.
Quick Guide: Best Fall Ombre Shades for Your Undertone
Not sure about your undertone? Check your wrist veins in natural light.
- Greenish veins: warm undertone
- Blue or purple veins: cool undertone
- A mix of both: neutral undertone
If You Have a Warm Undertone
Try burnt orange to nude, caramel to chocolate, rust to amber, or beige to mocha. Warm shades naturally complement warm skin tones.
If You Have a Cool Undertone
Try deep wine to burgundy, plum to lavender, or navy to charcoal. Cool-toned fades look crisp and polished against cooler skin.
If You Have a Neutral Undertone
You can wear almost any combo on this list. Start with beige to mocha or caramel to chocolate, then branch out to bolder pairings once you find your favorites.
Finish Matters More Than You Think
- Glossy: makes warm shades like caramel and chocolate look richer and deeper
- Matte: modern and forgiving, and it helps hide minor blending imperfections
- Metallic or chrome: best used when one shade is intentionally shimmery, like the olive to gold combo
Press-On Nails Have Seriously Improved
If you have not tried press-on nails recently, you might be surprised. With proper prep, many quality sets now last 7 to 14 days, and the ombre blends look salon-level smooth.
A few fall-friendly options worth trying:
- Glamnetic Candy Corn – warm orange gradient, great for shorter nails
- Glamnetic Eclipse – taupe fading into lavender, a cooler-toned option
- Olive & June BP Ombré – minimal and easy for everyday wear
- Kiss imPRESS Take a Chance – an affordable, grab-and-go drugstore pick
If you want a flawless ombre with almost no effort, press-ons are a smart shortcut.
DIY Fall Ombre Nails: The Sponge Method
Want to paint your own ombre nails? The sponge gradient technique is the easiest method for beginners, and it still delivers a professional-looking result.
What you will need:
- A makeup wedge sponge (the inexpensive triangle kind works fine)
- 2 to 3 polish shades, from lightest to darkest
- Base coat and top coat
- A small brush and pure acetone for cleanup, or a cotton swab
Steps to follow:
- Apply a base coat and let it dry completely. A wet base coat will ruin your gradient.
- Paint your lightest shade across the entire nail.
- Paint stripes of your chosen colors onto the sponge, slightly overlapping each one.
- Lightly dampen the sponge first so it does not absorb too much polish.
- Dab the sponge onto the nail instead of dragging it. Repeat two to three times to build up the fade.
- Clean up the edges with acetone, then seal everything with a top coat to smooth the gradient.
Pro tip: Dark fall shades like burgundy, brown, and rust work best in thin layers. Thick layers tend to streak and look uneven.
Press-Ons vs. Salon Ombre: Which Should You Choose?
A salon ombre manicure looks gorgeous and can be fully customized to your exact preferences, but it costs more and takes longer to complete. Press-on nails can look remarkably close to a salon finish for a fraction of the price, though you are choosing from pre-made color combinations rather than a custom blend.
For everyday wear, press-ons are the more convenient choice. For a special event or if you are particular about your exact shades, a salon visit is worth the investment.
Final Thoughts: Give Your Nails a Fall Makeover
Pick one of these fall ombre nail looks, wear it for a week, and see how it feels. Nail polish is temporary, so there is no pressure to get it perfect on the first try.
And if your first DIY attempt looks a little uneven, do not worry. Seal it with a top coat, wear it with confidence, and call it your own unique take on the trend.