
A professional manicure costs anywhere from $40 to $80 and eats up half your Saturday. Here’s what salons don’t advertise: with about $30 worth of tools and 45 unhurried minutes, you can get results that look just as good at your own kitchen table. A great manicure at home isn’t about talent — it’s about process. Nail technicians follow the same sequence every single time, and once you learn it, your DIY results jump from “good enough” to genuinely salon-quality.
This guide walks you through the exact steps the pros use: proper prep, shaping, cuticle care, base coat, color, top coat, and the aftercare that keeps it all looking fresh for up to two weeks. No special skills required — just patience and the right order of operations.
What You’ll Need: Your At-Home Manicure Kit
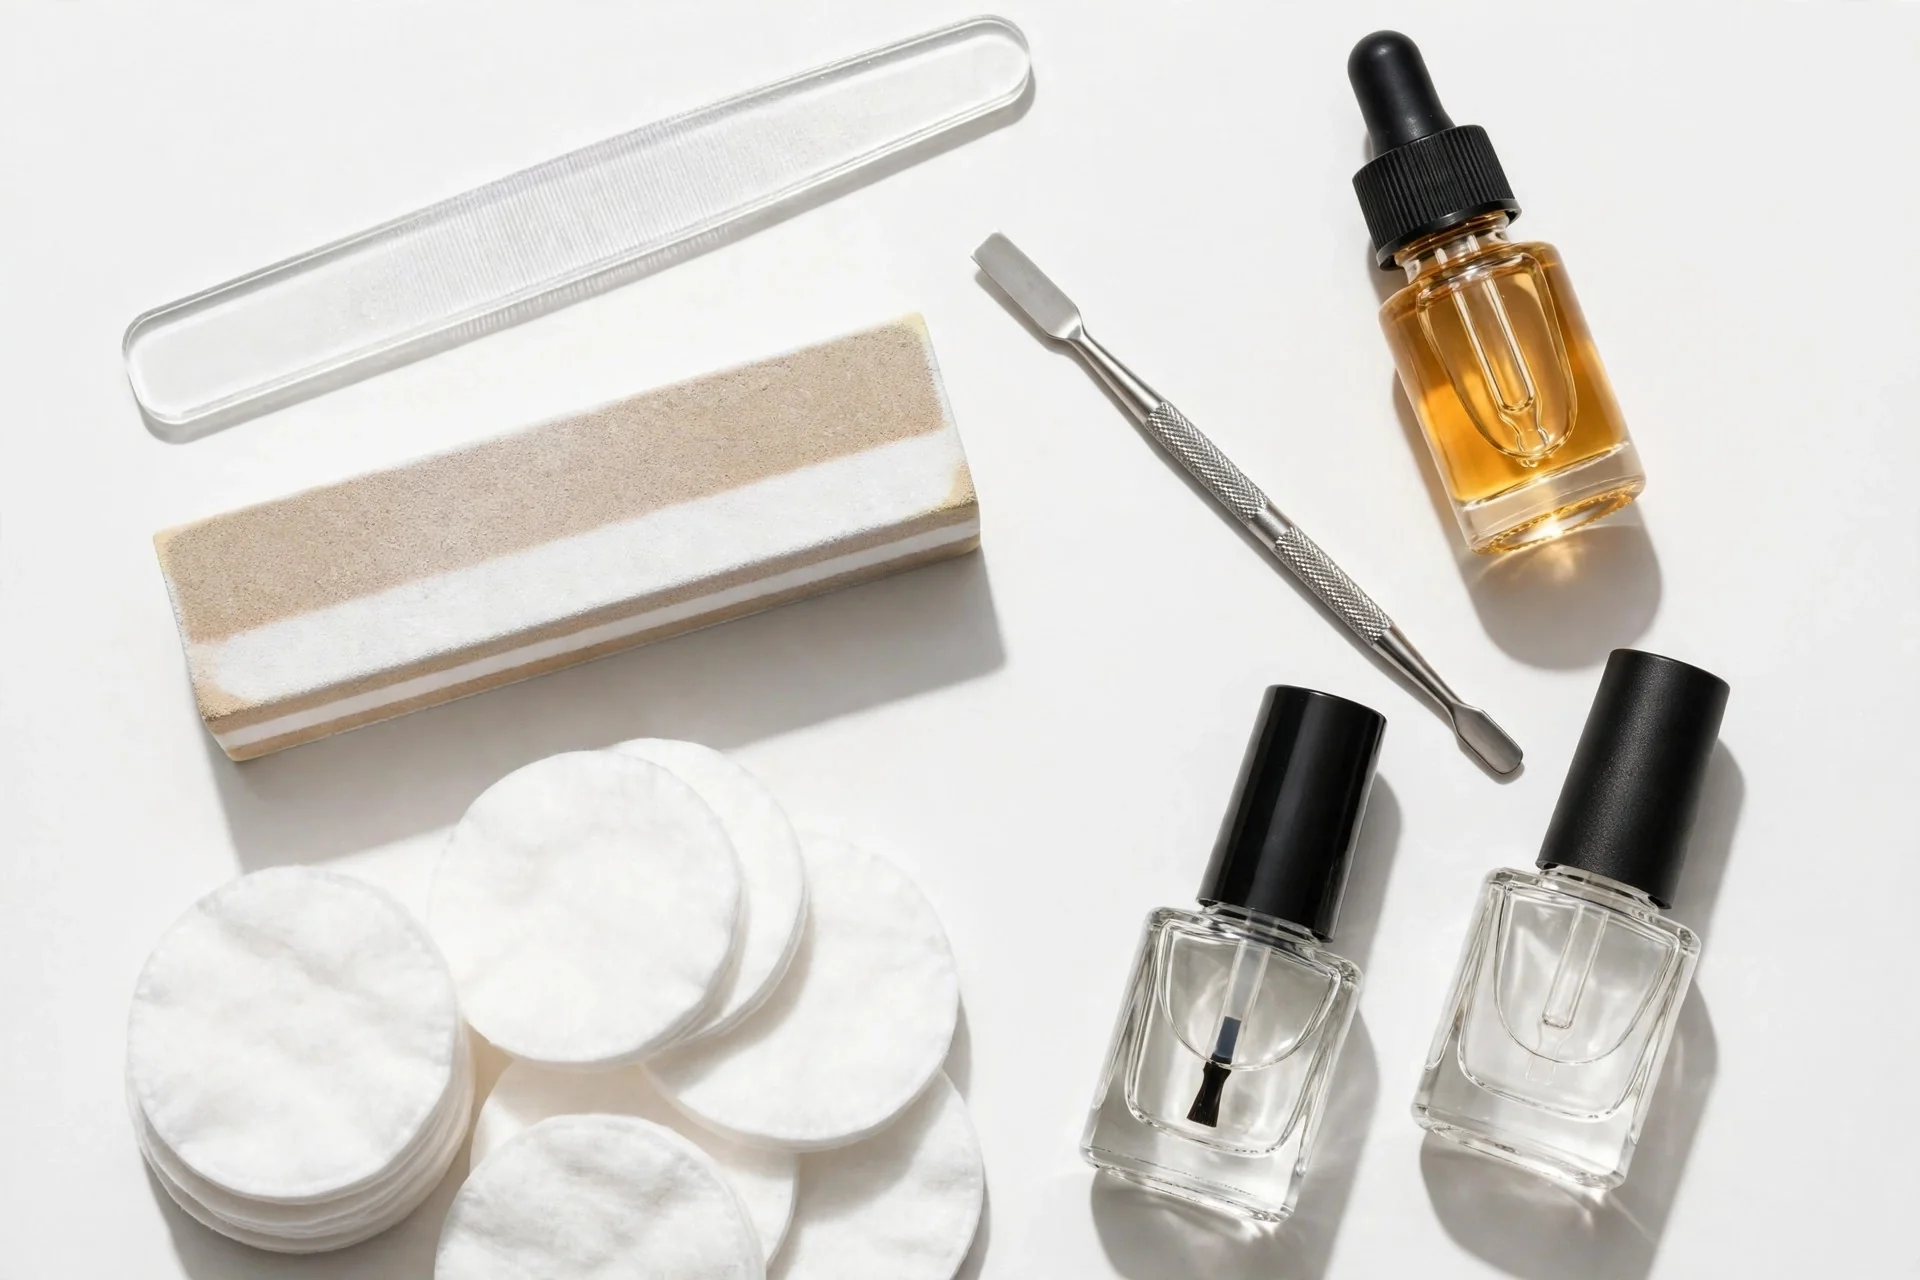
You don’t need a professional setup. This basic kit covers everything and most of it lasts for dozens of manicures:
- Nail polish remover — acetone-free is gentler for regular use; keep pure acetone on hand for glitter or stubborn shades.
- Cotton pads (not balls — pads give you more control and leave less lint).
- Glass nail file — about $8, far gentler than cheap emery boards, and it never wears out. A 180-grit file is the all-purpose choice.
- Nail buffer block with multiple grits for smoothing ridges.
- Cuticle pusher — wood (orangewood sticks, a few dollars for a pack) or metal.
- Cuticle oil — jojoba-based oils absorb best.
- Hand cream — something rich with shea butter or ceramides.
- Base coat, your color polish, and top coat. Drugstore staples like Sally Hansen, Essie, and OPI perform beautifully — you don’t need luxury brands.
- A small flat brush (an old lip brush works) for cleaning up edges.
Total investment: roughly $25 to $35, most of it one-time. Compare that to a single $60 salon visit and the kit pays for itself immediately.
Step 1: Remove Old Polish and Shape Your Nails
Start with a clean slate. Saturate a cotton pad with remover, press it onto each nail for about ten seconds, then wipe toward the tip. The pause lets the remover dissolve the polish instead of you scrubbing at it — scrubbing dries out the nail plate.
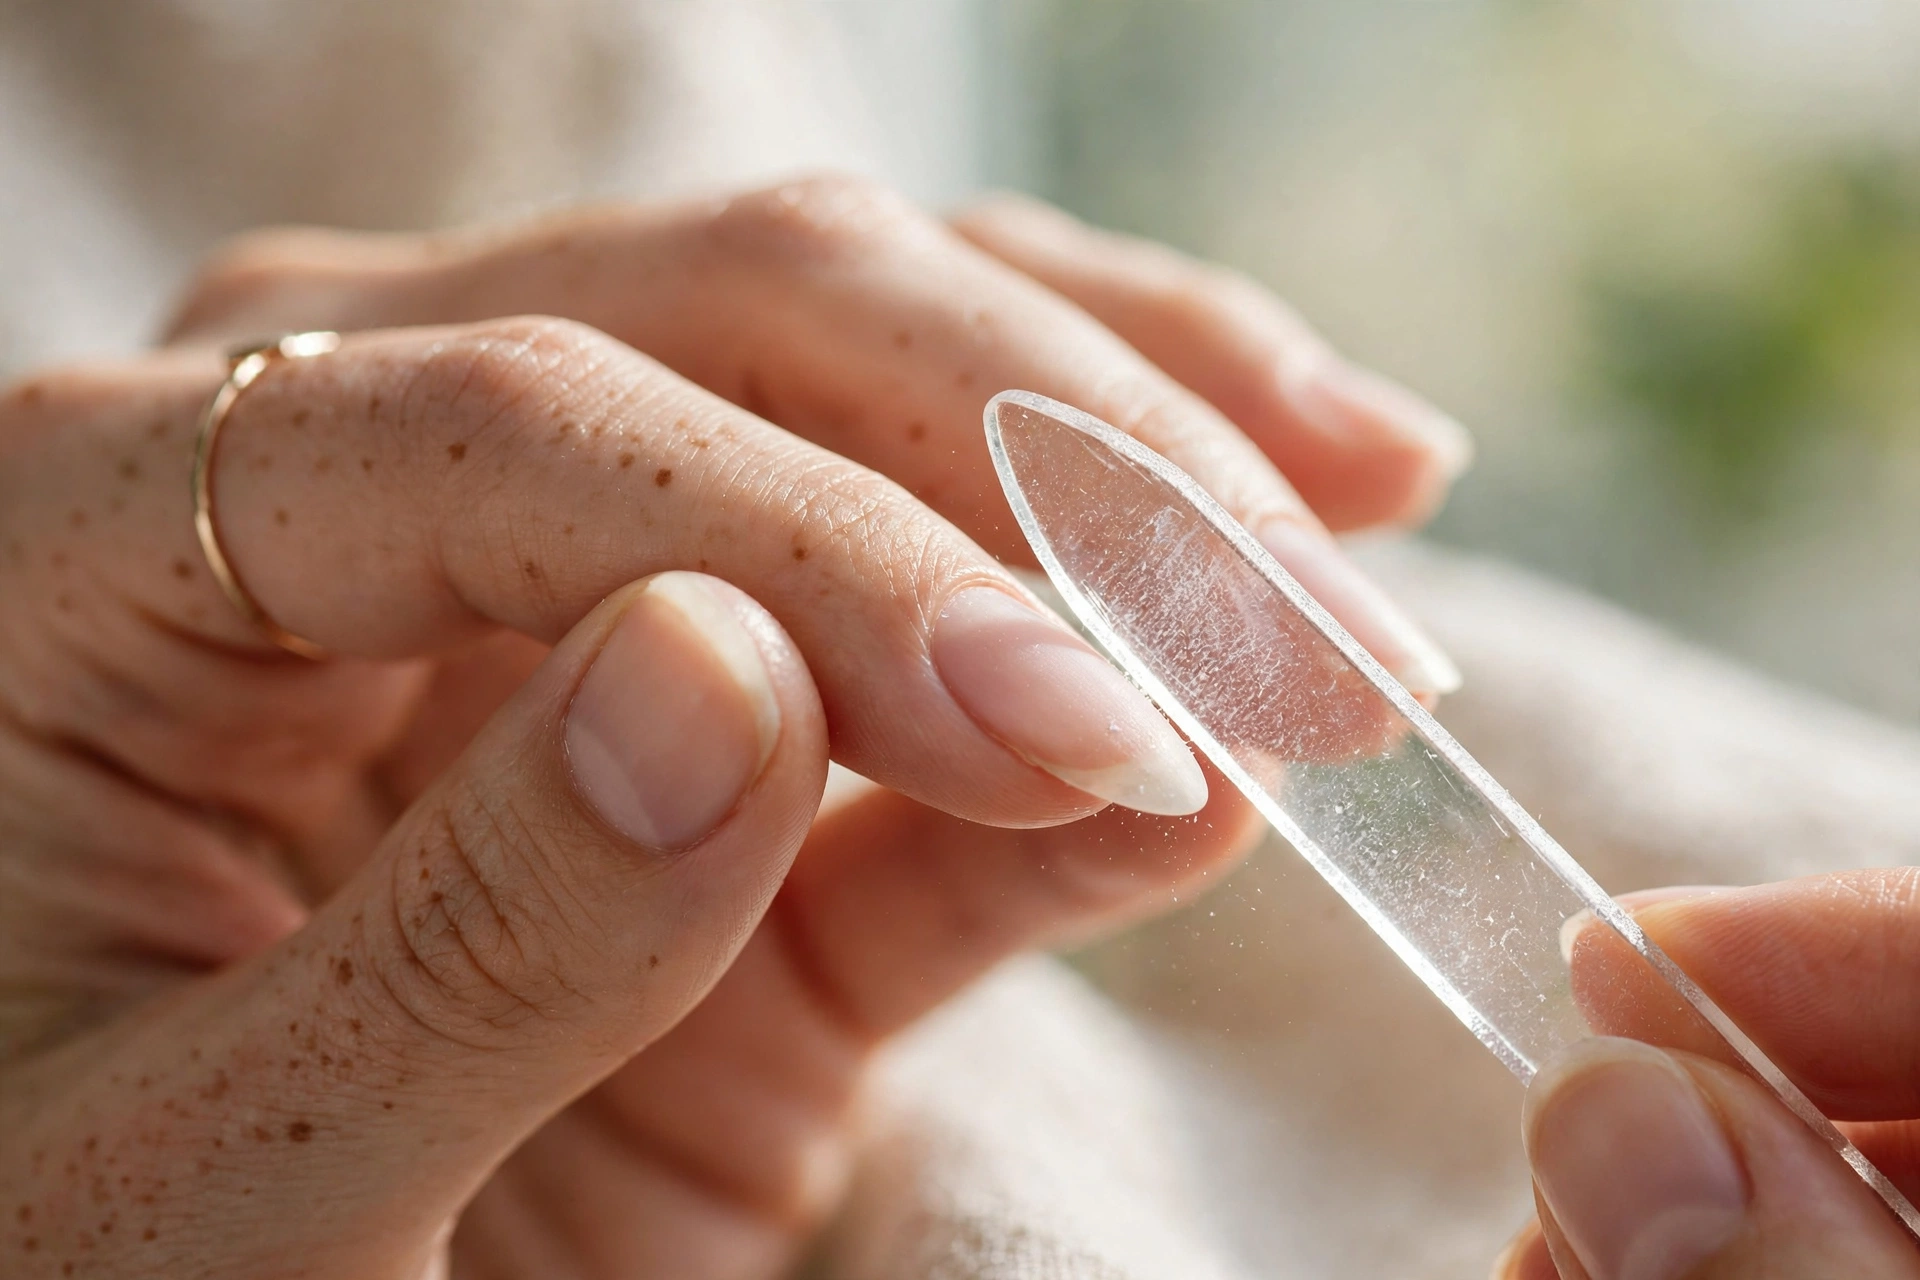
Now shape. Always file in one direction, from the outer edge toward the center. Sawing back and forth frays the nail edge and causes peeling later. A glass file makes this almost foolproof. As for shape, here’s a quick cheat sheet:
- Oval: flattering on almost everyone; elongates short fingers.
- Almond: elegant and elongating, but needs some length to work.
- Squoval (square-oval): the most practical everyday shape — strong corners, soft look.
- Square: chic on longer nail beds, but corners chip fastest.
Keep all ten nails the same length by comparing them side by side as you go — hold your hands together, palms down, and check. Uneven lengths are the fastest giveaway of an amateur job. File a little, check, file a little more. You can always take more off; you can’t put it back.
Step 2: Soak, Then Tidy Your Cuticles
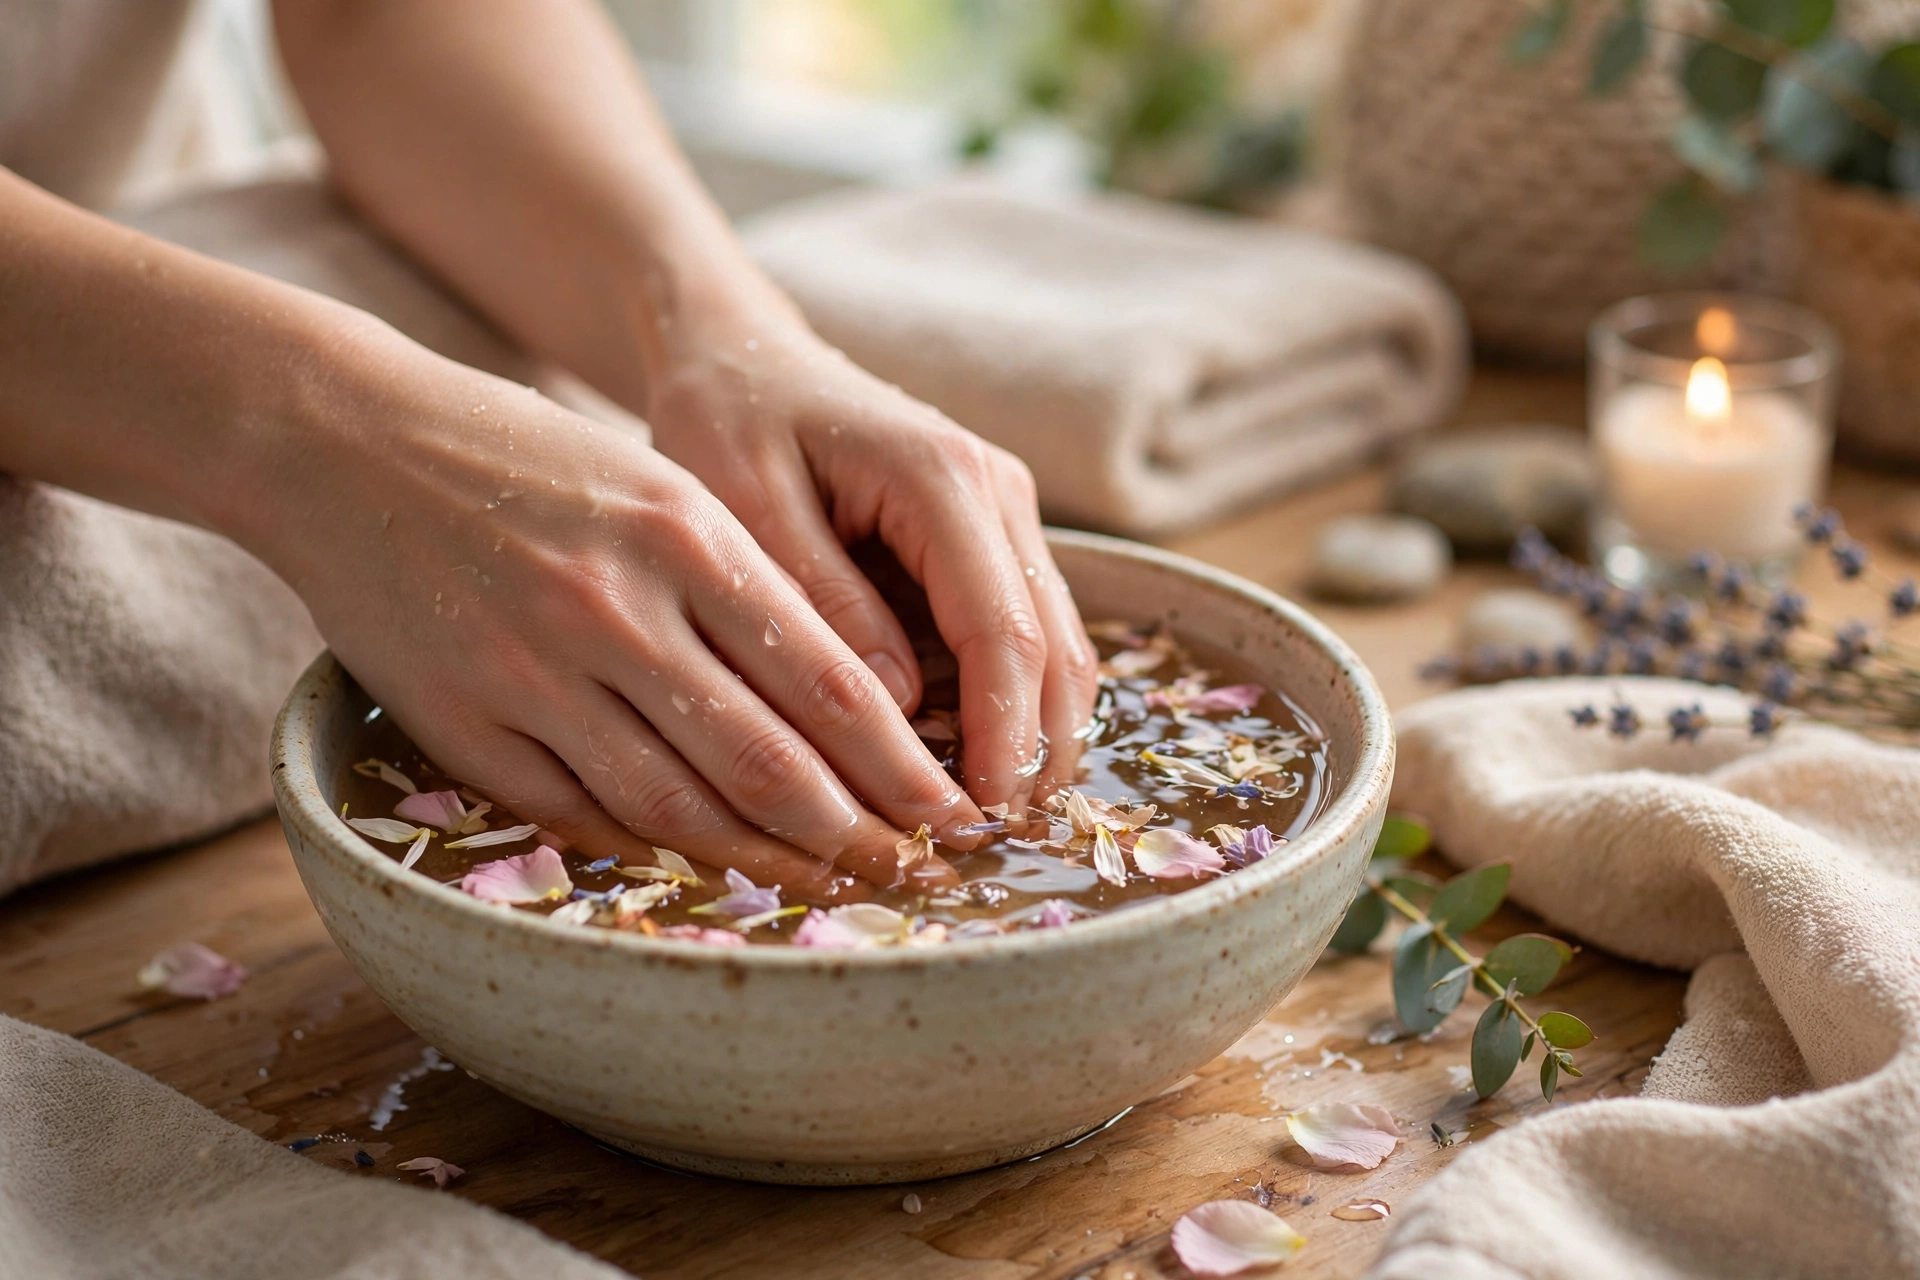
Fill a bowl with warm (not hot) water, add a drop of gentle soap or a few drops of cuticle oil, and soak your fingertips for three to five minutes. This softens the cuticles so they push back easily instead of tearing.
Pat dry, then gently push each cuticle back with your pusher or an orangewood stick. Use light pressure and a rolling motion — you’re nudging, not scraping. Never cut your cuticles. That little seal of skin protects the nail matrix from bacteria, and cutting it is how infections start. Salons that still cut cuticles are behind the times; the modern standard is push-back only.
The one exception: hangnails. Snip those cleanly at the base with sharp nippers so they don’t catch and tear. Then move on — don’t keep fussing, or you’ll irritate the skin.
Step 3: Exfoliate and Moisturize
Rough, dry skin around the nails ruins even perfect polish, so treat your hands like the rest of your skincare routine. Gently buff away surface roughness on the nail plate with the fine side of your buffer — three or four light passes per nail, no more. Over-buffing thins the nail.
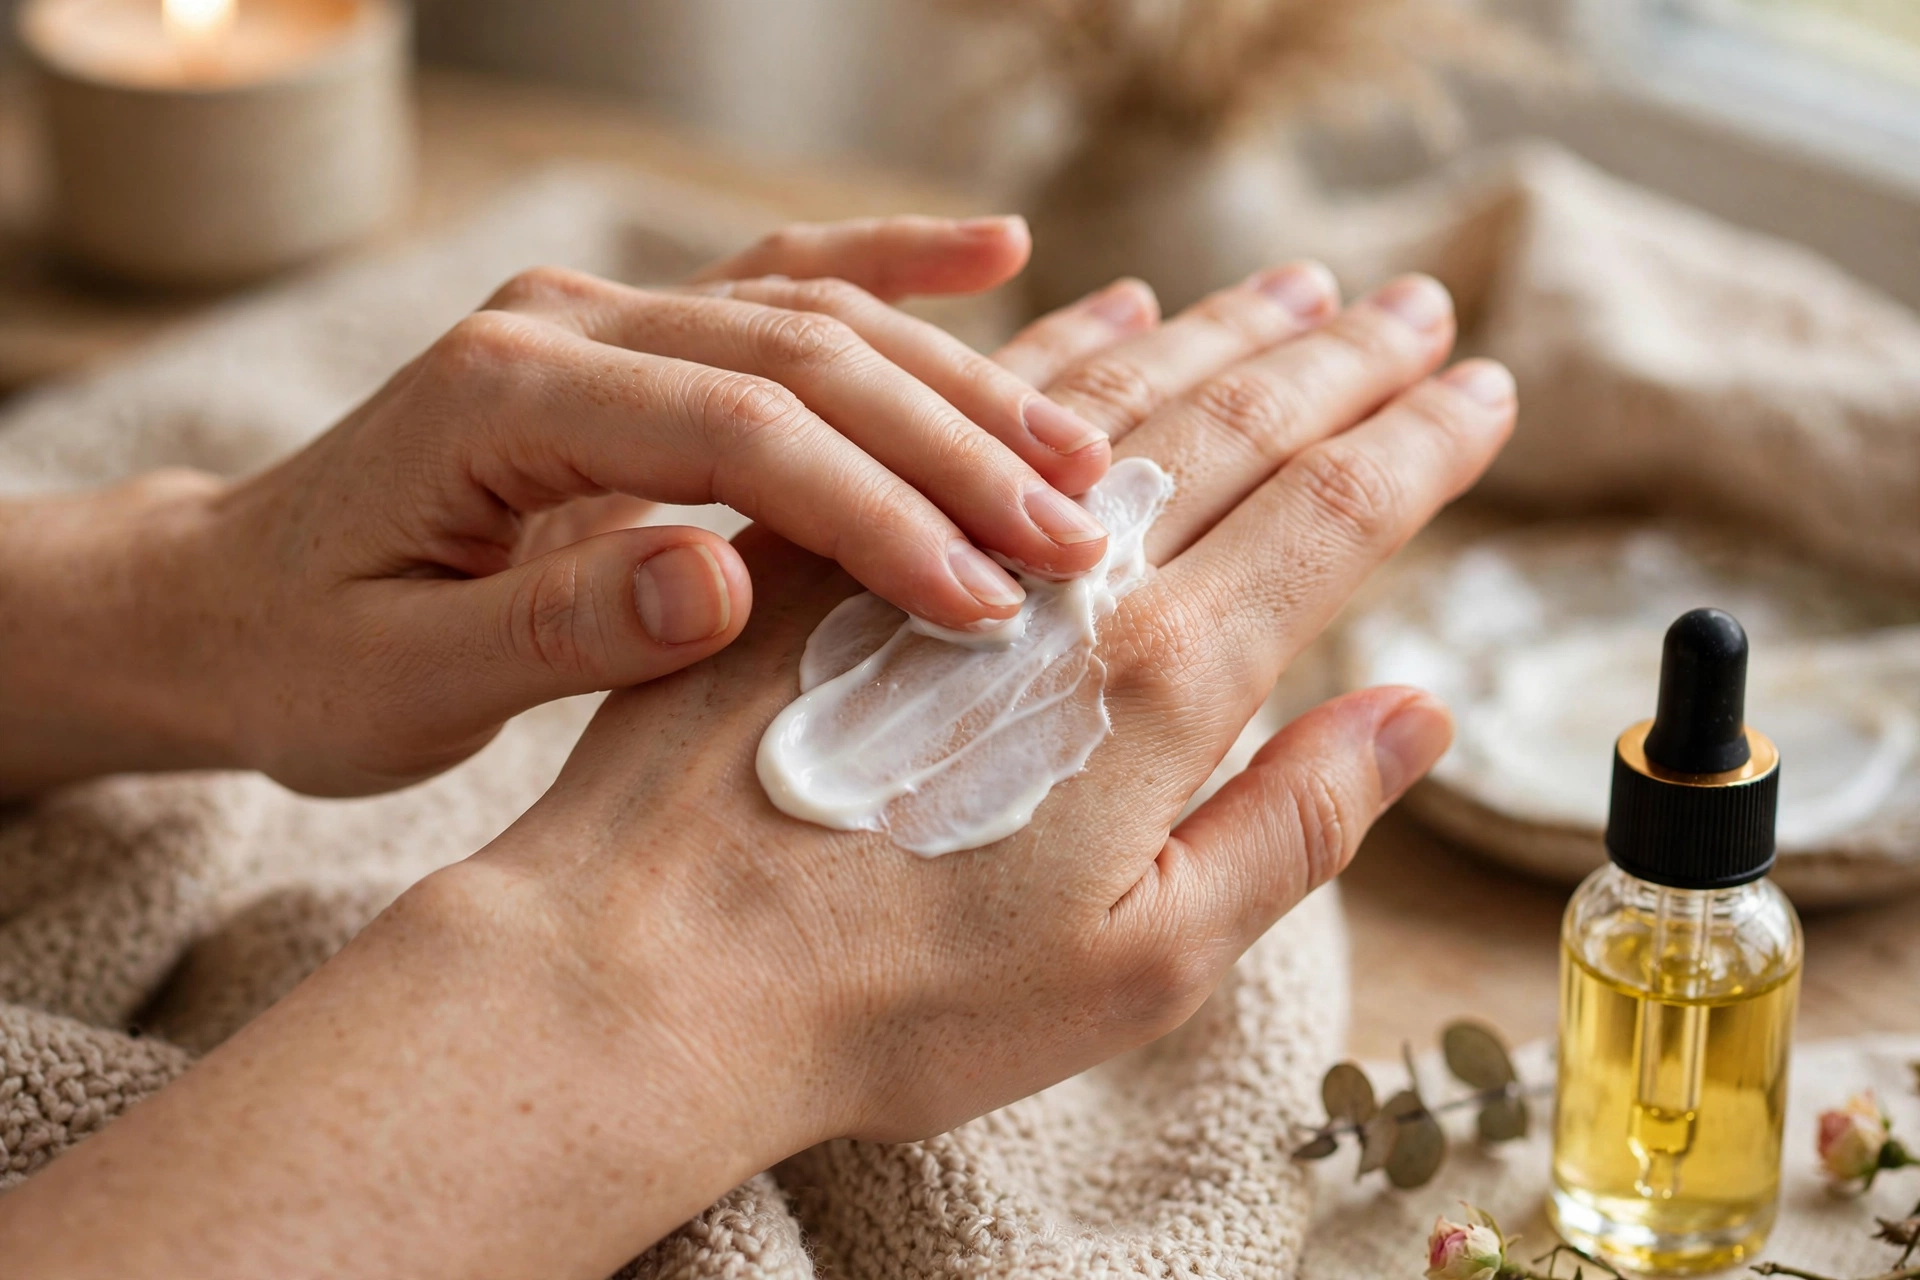
Then exfoliate your hands. A store-bought hand scrub works, or mix a teaspoon of sugar with a drizzle of olive oil for a two-ingredient DIY version. Massage it over your hands and around each nail, rinse, and pat dry. Follow with a generous layer of hand cream, massaging it into each cuticle.
Here’s the critical part most people miss: before you pick up the polish, wipe each nail plate with remover on a cotton pad. This strips away the oils and cream you just applied. Polish bonds to a clean, dry nail — any residue underneath guarantees chipping within a day. Think of it the same way you’d think about layering skincare products: each layer only works if the one beneath it was prepped properly.
Step 4: Base Coat — the Step Everyone Skips
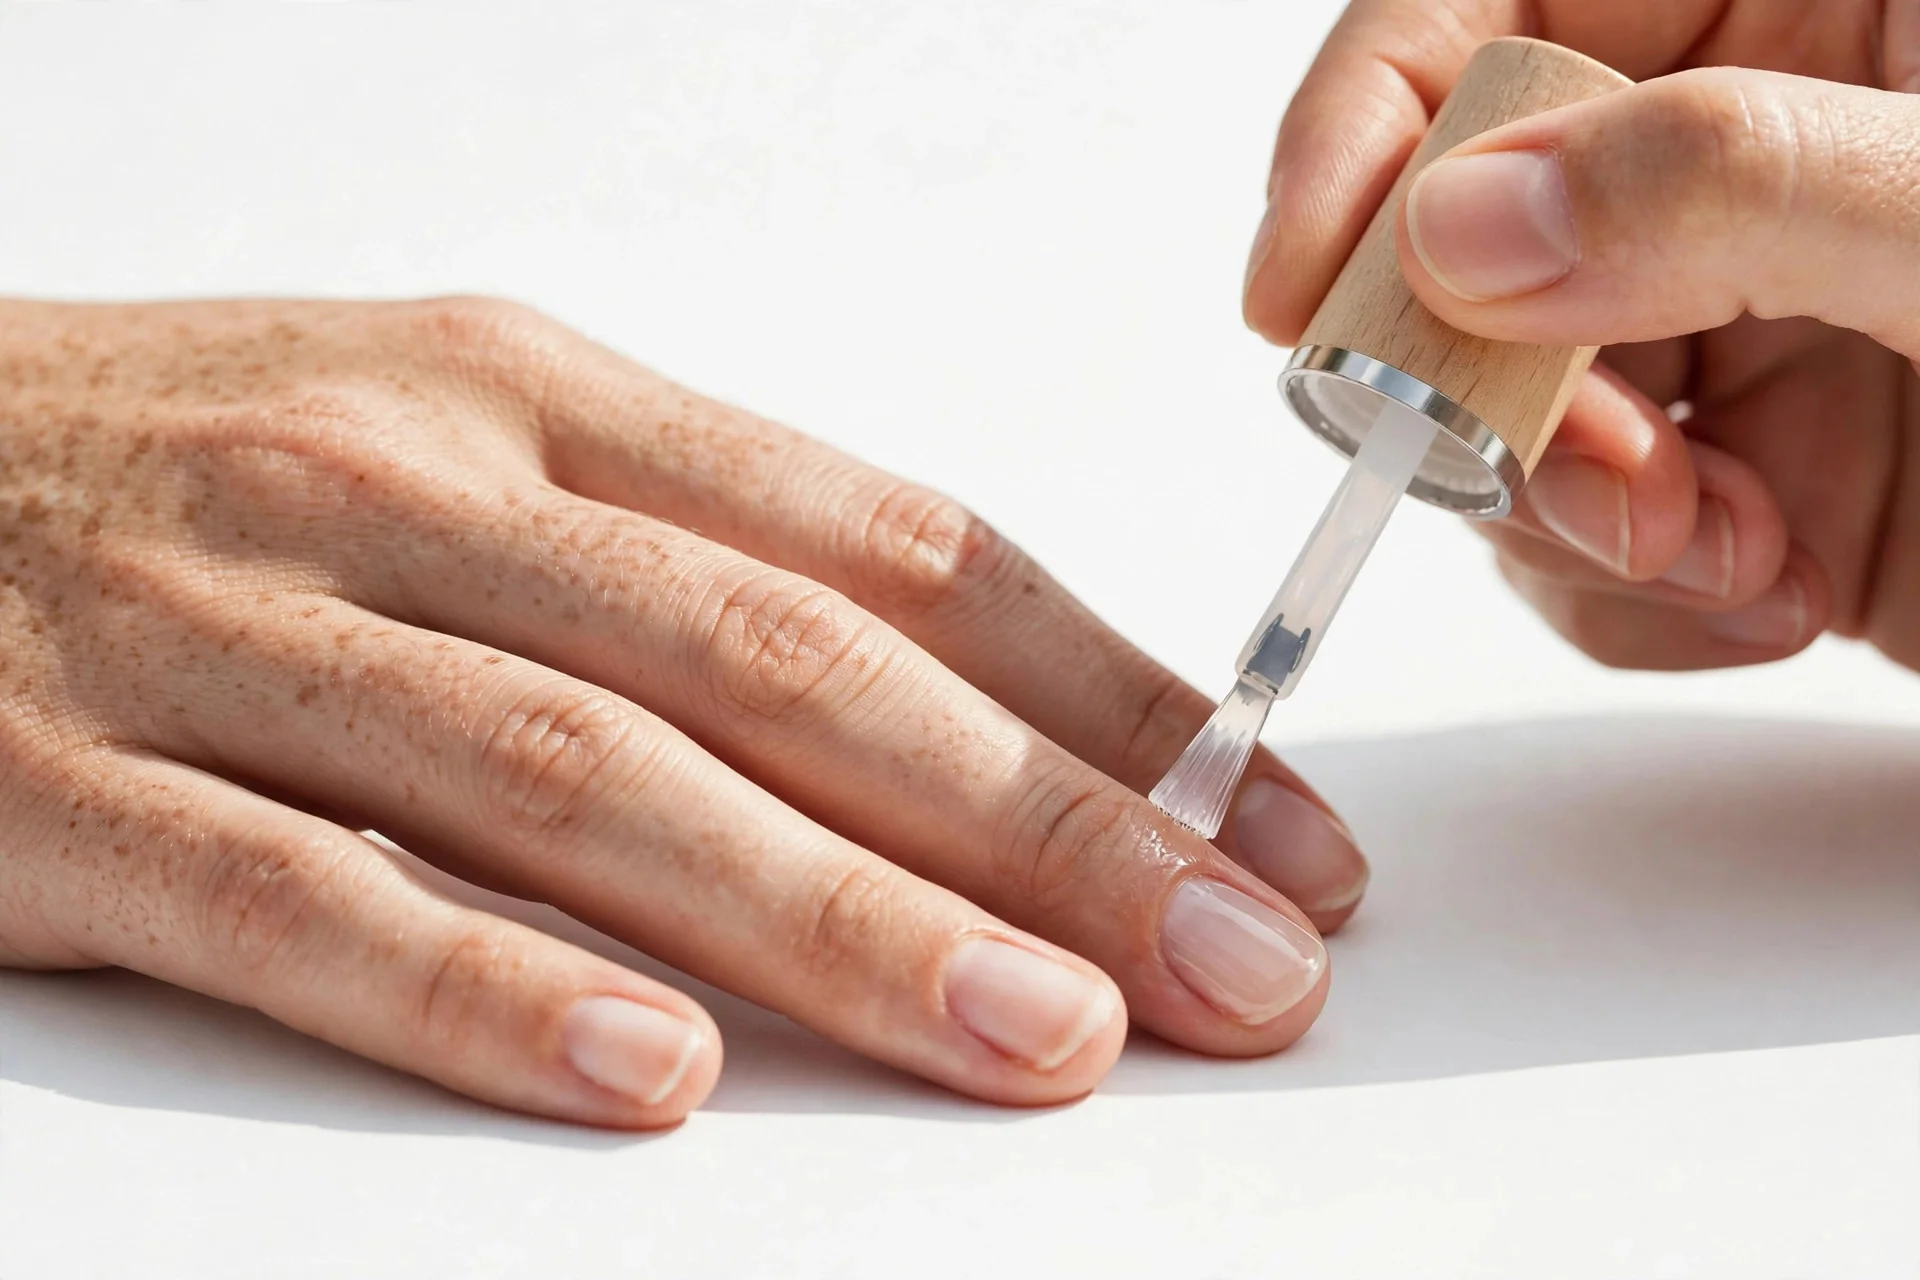
If your manicures chip by day two, a skipped base coat is usually the culprit. Base coat does three jobs: it gives the color something to grip, it prevents dark polishes from staining your nails yellow, and it fills in tiny ridges for a smoother finish.
Apply one thin layer, stroking from cuticle to tip, and let it dry for about two minutes. If your nails have visible ridges, use a ridge-filling base coat — it’s slightly thicker and acts like primer for nails. Don’t substitute top coat as base coat; they’re formulated differently, and the manicure won’t last.
Step 5: Apply Color Like a Pro
Choosing your shade is the fun part. Nudes and soft pinks are forgiving for beginners (mistakes barely show), while deep reds and dark plums look striking but demand cleaner application. A classic red pairs beautifully with timeless wardrobe pieces — it’s the one polish shade that never looks dated. If you like coordinating your nails with your face, our makeup for beginners guide covers undertone-matching that applies to polish too.
Now the technique that separates salon results from DIY:
- Roll, don’t shake, the bottle between your palms for 15 seconds. Shaking creates air bubbles that end up on your nails.
- Wipe one side of the brush on the bottle neck. You want a thin, controlled amount — thick coats are the number one cause of smudging and slow drying.
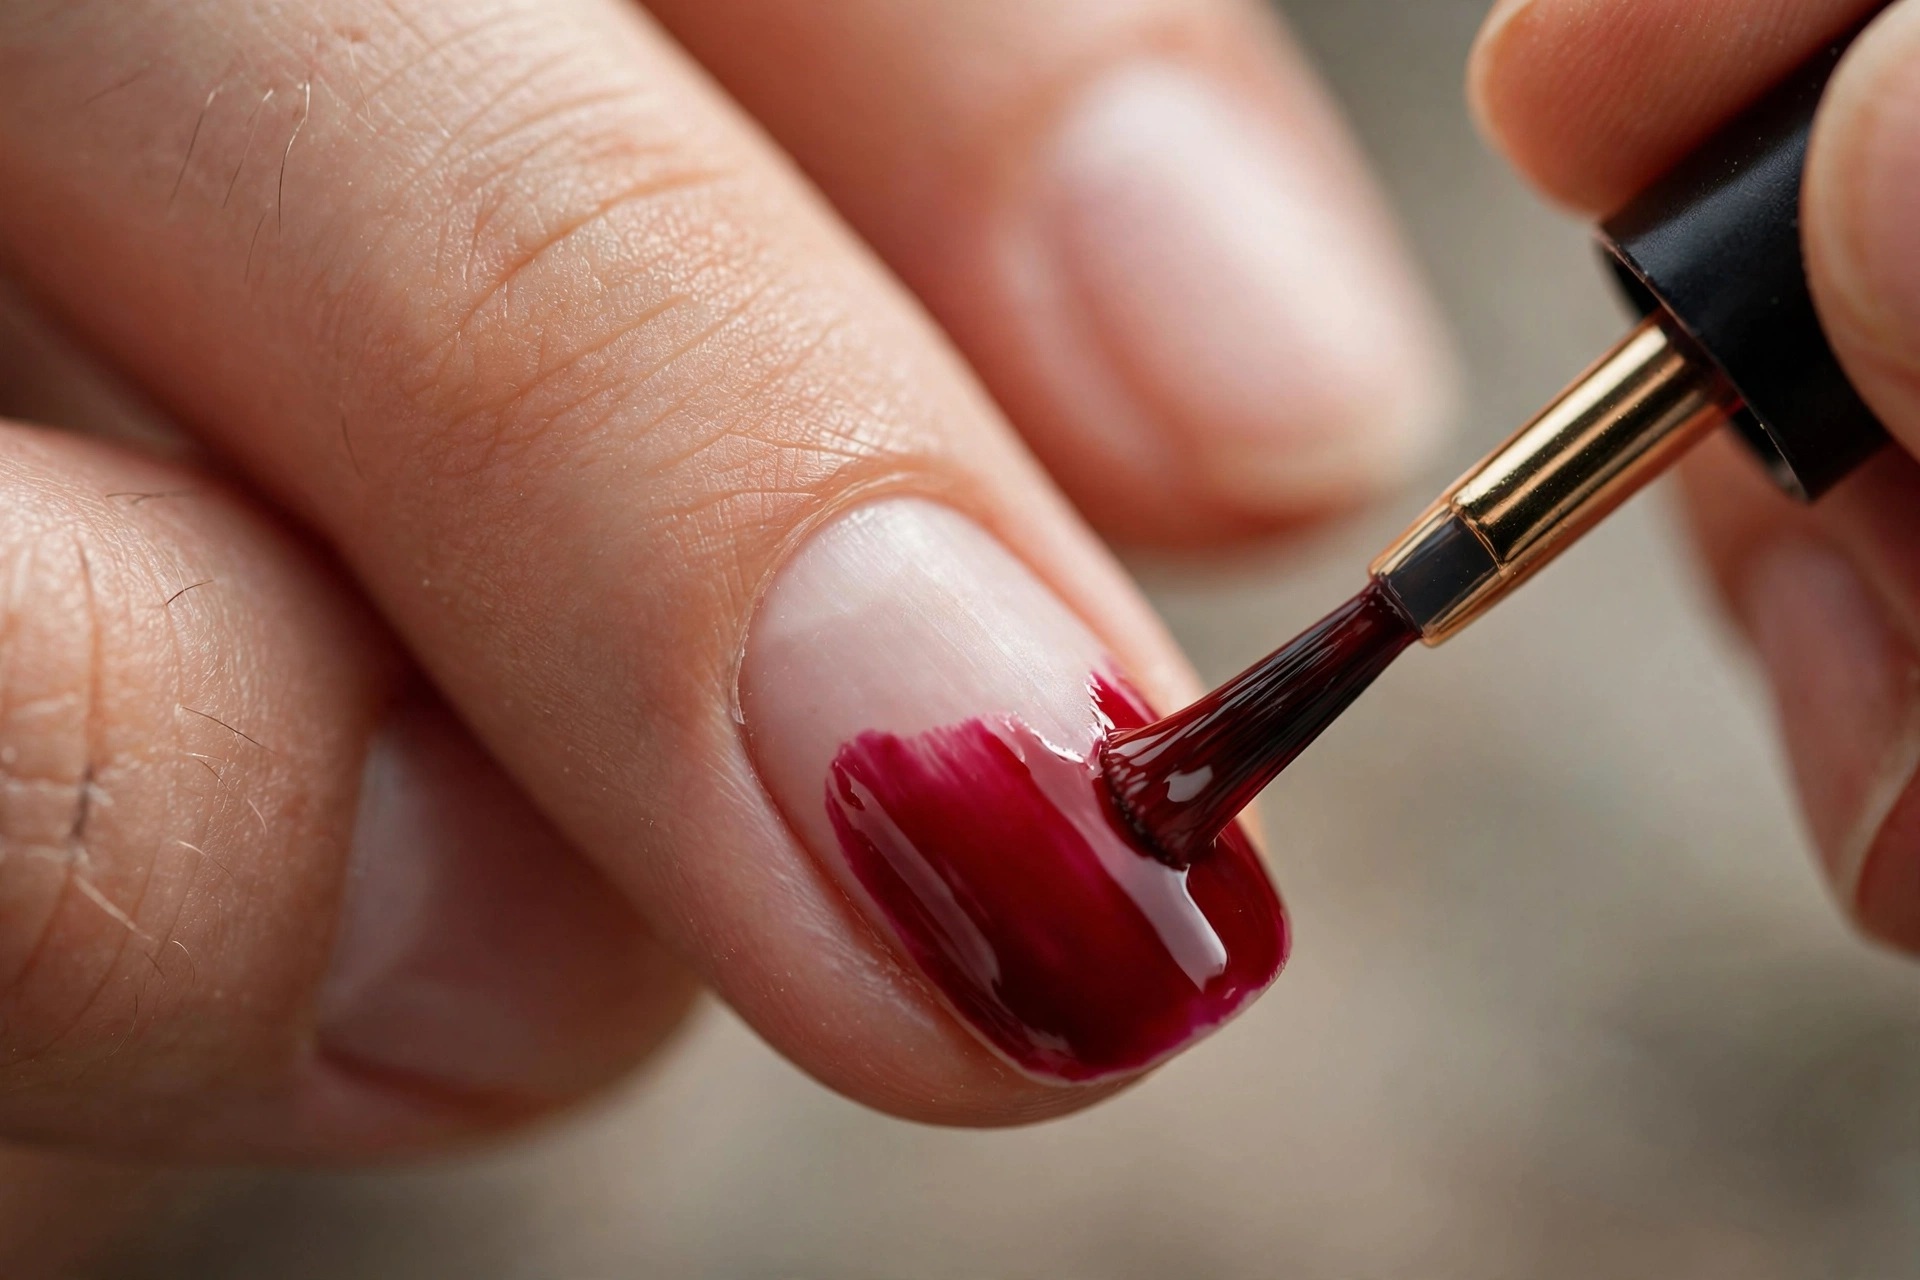
- Use the three-stroke method: one stroke down the center, then one down each side. Start slightly away from the cuticle and push the brush toward it for a clean rounded edge.
- Cap the free edge: run the brush lightly across the very tip of the nail. This seals the end and dramatically reduces tip wear.
- Apply two thin coats, never one thick one. Wait two to three minutes between coats — the surface should look matte-dry, not tacky.
If you flood a cuticle, don’t panic. Leave it alone until everything is dry, then clean it up in the next step. Poking at wet polish only makes it worse.
Step 6: Top Coat and Clean-Up
Top coat is what gives you that glassy salon shine and adds days of wear. Apply one generous layer over the fully dry color, again capping the free edge. Quick-dry top coats (Seche Vite and Sally Hansen Insta-Dri are the cult favorites) set the surface in minutes, though the layers underneath still need an hour or two to harden completely — plan your manicure for an evening when you’re done typing for the day.
For clean-up, dip your small flat brush in remover, wipe off the excess, and trace carefully around each nail to erase any polish on skin. Nail technicians do exactly this; the “perfect application” you admire at salons is half application, half clean-up. Finish with a drop of cuticle oil on each nail — it rehydrates the skin the remover dried out and makes everything look professionally finished.

How to Make Your Manicure at Home Last Longer
A careful manicure at home should last seven to ten days, sometimes two full weeks. These habits make the difference:
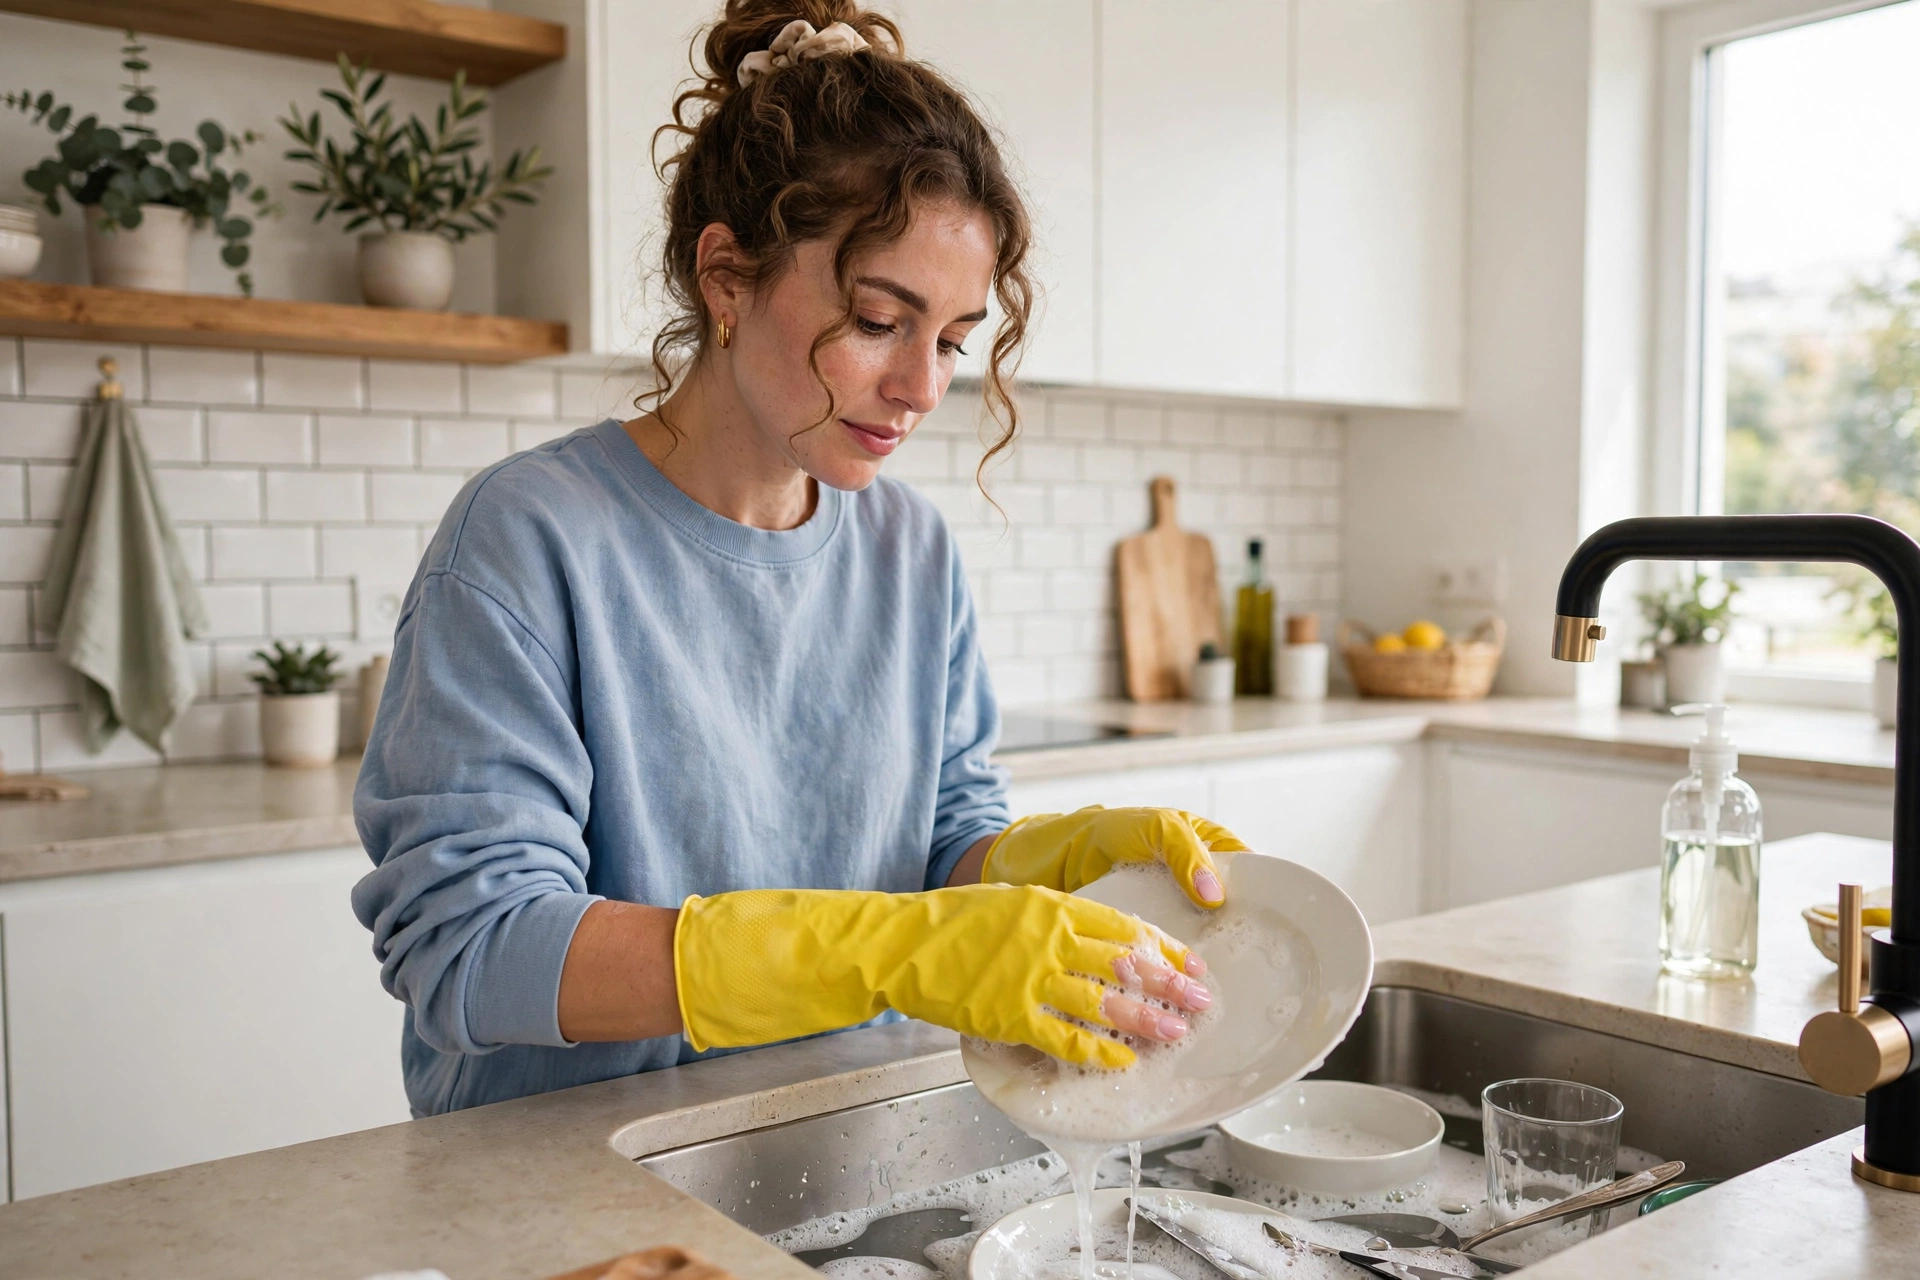
- Wear gloves for dishes and cleaning. Hot water and detergents are polish killers — this single habit adds more days than anything else.
- Reapply top coat on day three or four. One fresh layer refreshes the shine and reseals the tips. It takes five minutes.
- Oil your cuticles daily. Flexible, hydrated nails bend instead of chipping; dry nails crack.
- Use your fingertips, not your nails, as tools. Prying open cans and scraping stickers is how corners break.
- Fix chips early. Dab a tiny bit of color on the chip, let it dry, add top coat. A 60-second repair beats redoing all ten nails.
Frequently Asked Questions
How long does a manicure at home take?
Budget 45 minutes to an hour the first few times — most of that is drying time between coats. Once the routine is familiar, you’ll finish the active work in about 30 minutes. Don’t rush the drying; impatience causes more smudges than any technique flaw.
Why does my polish chip the next day?
The usual suspects: skipping base coat, applying coats too thick, or polishing over oily nails. The prep steps in this guide — especially wiping the nail plate with remover before base coat — solve the vast majority of next-day chipping.
Can I do gel polish at home instead?
You can, with a UV/LED lamp and gel-specific products, and it lasts two to three weeks. But gel has a learning curve and removal requires careful soaking to avoid nail damage. Master regular polish first — the prep and application skills transfer directly.
I’m a complete beginner. What’s the easiest polish to start with?
A sheer nude or pale pink. Sheers are forgiving of uneven application, chips are nearly invisible, and they look polished with zero nail-art skills. Save the opaque dark shades for your third or fourth attempt.
That’s the whole routine — the same sequence a $70 salon appointment follows, minus the appointment. Your first manicure at home might take the full hour and look 90% perfect. Your fifth will take 35 minutes and fool everyone. Keep your kit in one place, pick a shade that makes you happy, and enjoy the small luxury of doing it yourself.