
Starting makeup can feel like learning a new language. Primer, setting spray, baking, cut creases — the internet throws a hundred terms at you before you have even bought your first mascara. Take a breath. This makeup for beginners guide strips everything back to what actually matters: a small set of essential products, a handful of forgiving techniques, and a simple routine you can do in ten minutes.
You do not need a 20-product kit or professional skills to look polished. Most everyday makeup comes down to even skin, defined eyes, and a bit of color on the cheeks and lips. Master those three things and you will look put-together every single day — then you can experiment from there.
Start With Skincare, Not Makeup
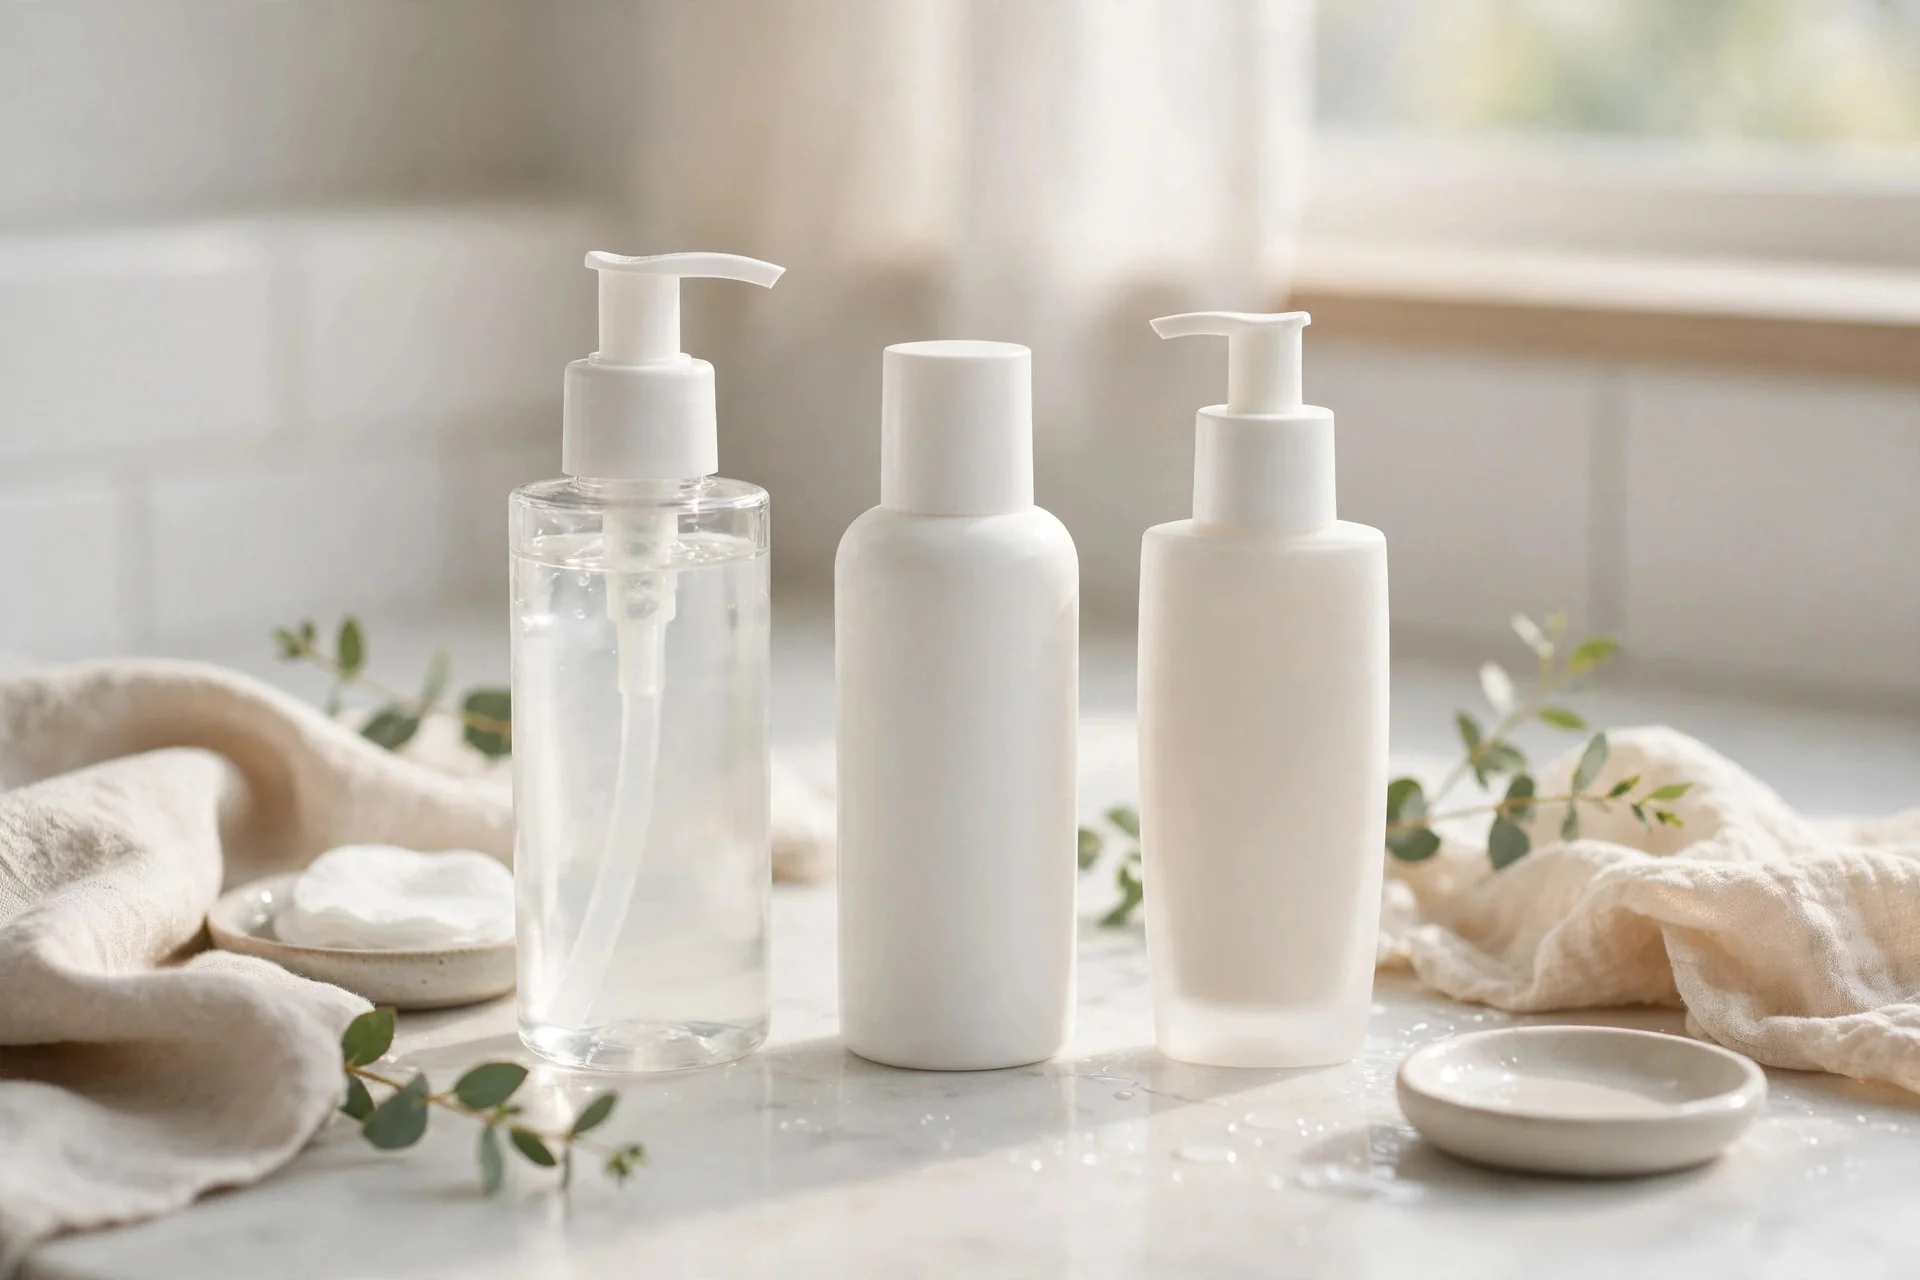
Here is the secret nobody puts on the packaging: good makeup starts the night before, and the morning of, with skincare. This makeup for beginners guide starts with skincare because foundation clings to dry patches, slides off oily skin, and settles into fine lines when the skin underneath is not prepped.
You do not need a 10-step routine. But you do need to apply products in the right order so each one absorbs properly. If you are unsure where serum ends and moisturizer begins, our skincare layering guide lays out the correct sequence step by step. Give your moisturizer and sunscreen a full two to three minutes to sink in before any makeup goes on — this one habit prevents more makeup mishaps than any expensive primer.
The Only 7 Products a Beginner Actually Needs
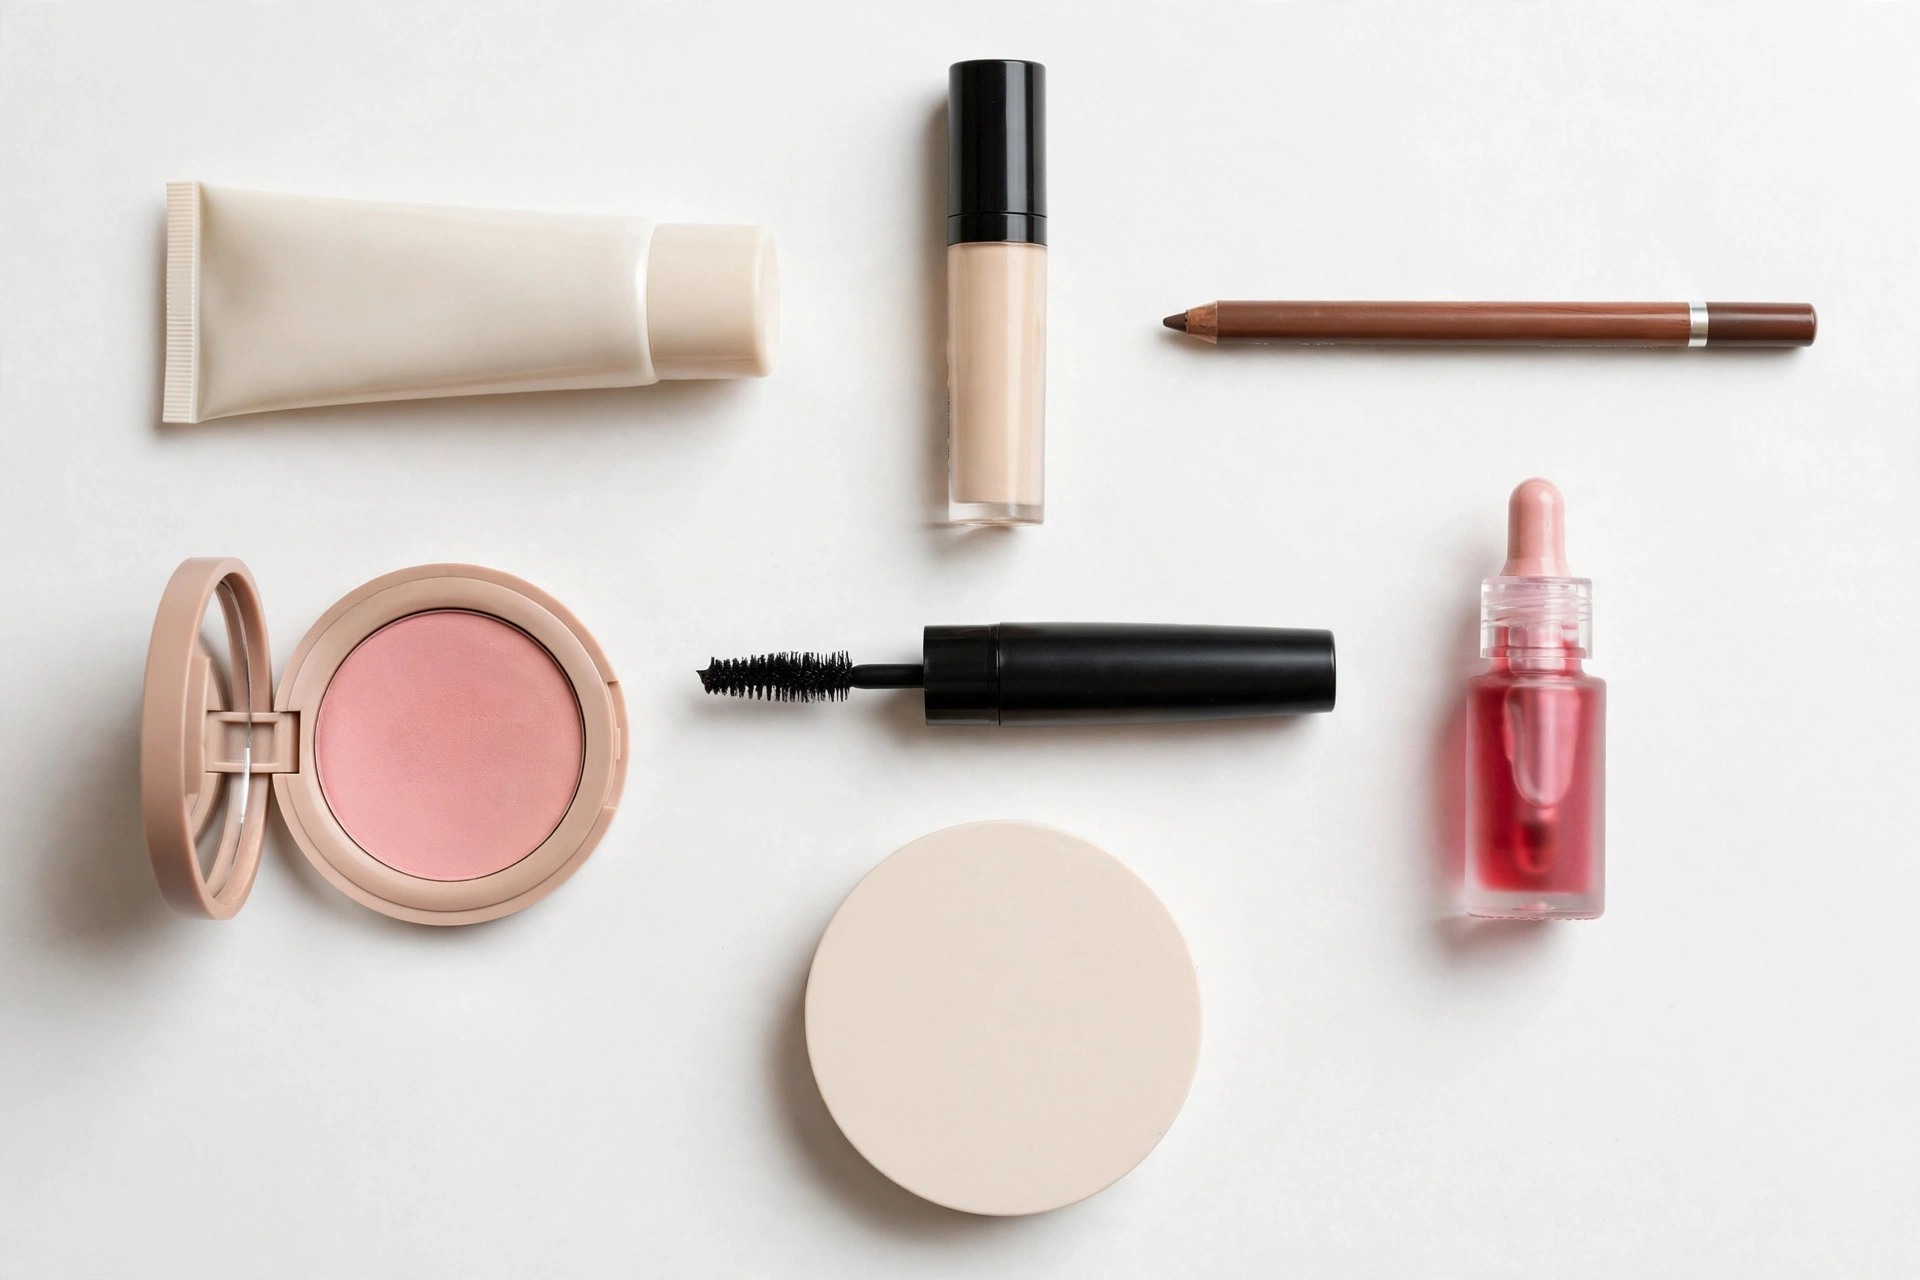
Walk into any beauty aisle and the options are overwhelming. Ignore most of them for now. This makeup for beginners kit skips the extras — these seven products cover every everyday look, and you can build a complete kit for roughly $60 to $100 at the drugstore:
- Tinted moisturizer or light foundation ($10–$40). Skip full-coverage foundation for now — it is harder to blend and easier to over-apply. A tinted moisturizer or BB cream evens your tone while still looking like skin. Maybelline Fit Me and L’Oréal True Match are reliable drugstore picks; if you want to invest, NARS Pure Radiant Tinted Moisturizer ($46) is a classic for a reason. Need help picking the right color? Read our guide on how to find your foundation shade before you buy.
- Concealer ($7–$30). One shade lighter than your skin for under eyes, and one matching your skin for blemishes. Maybelline Instant Age Rewind ($10) has been a bestseller for years because the sponge applicator makes blending foolproof.
- Translucent setting powder ($8–$35). A light dusting keeps concealer from creasing and controls shine through the day. Press it in with a fluffy brush rather than sweeping — sweeping moves the makeup underneath.
- Mascara ($8–$28). The single product with the biggest impact per dollar. It opens up your eyes instantly, even with nothing else on. L’Oréal Lash Paradise ($12) and Maybelline Lash Sensational ($10) consistently outperform mascaras triple the price.
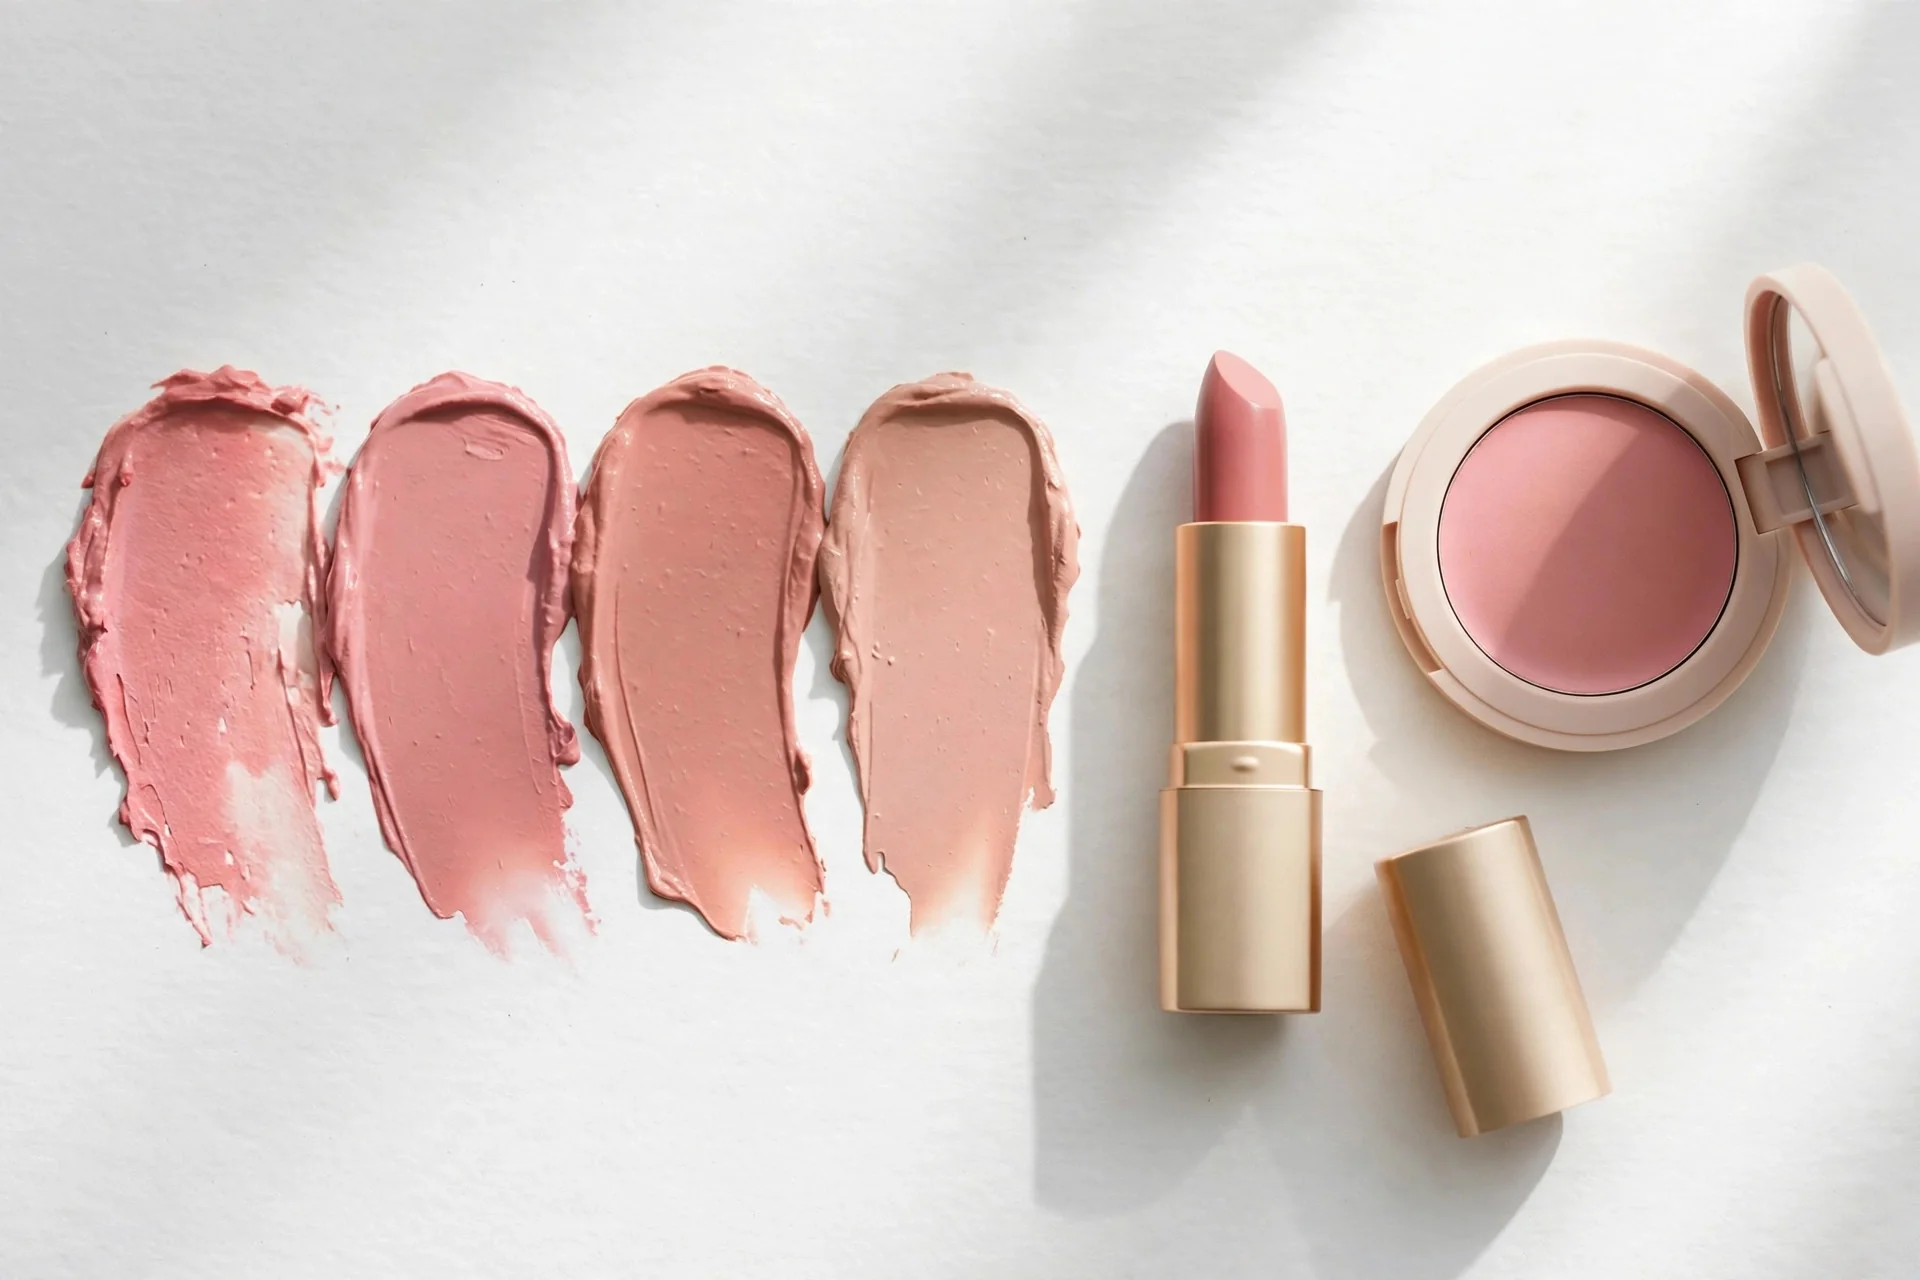
- Cream blush ($8–$25). Cream formulas melt into skin and are far more forgiving than powder for beginners — you can blend with your fingers. A soft pink or peach on the apples of your cheeks takes ten seconds and makes you look awake.
- Brow gel ($7–$20). Brushed-up brows frame your face with almost zero skill required. A tinted brow gel fills sparse areas and holds hairs in place in one step.
- Lip tint or tinted lip balm ($6–$25). Easier than lipstick, more polished than bare lips. Tints are forgiving because they fade evenly instead of leaving a harsh line.
That is it. No contour palette, no eyeshadow primer, no setting spray — those are all useful later, but none of them are necessary to look good now.
Brushes vs. Fingers: What You Really Need
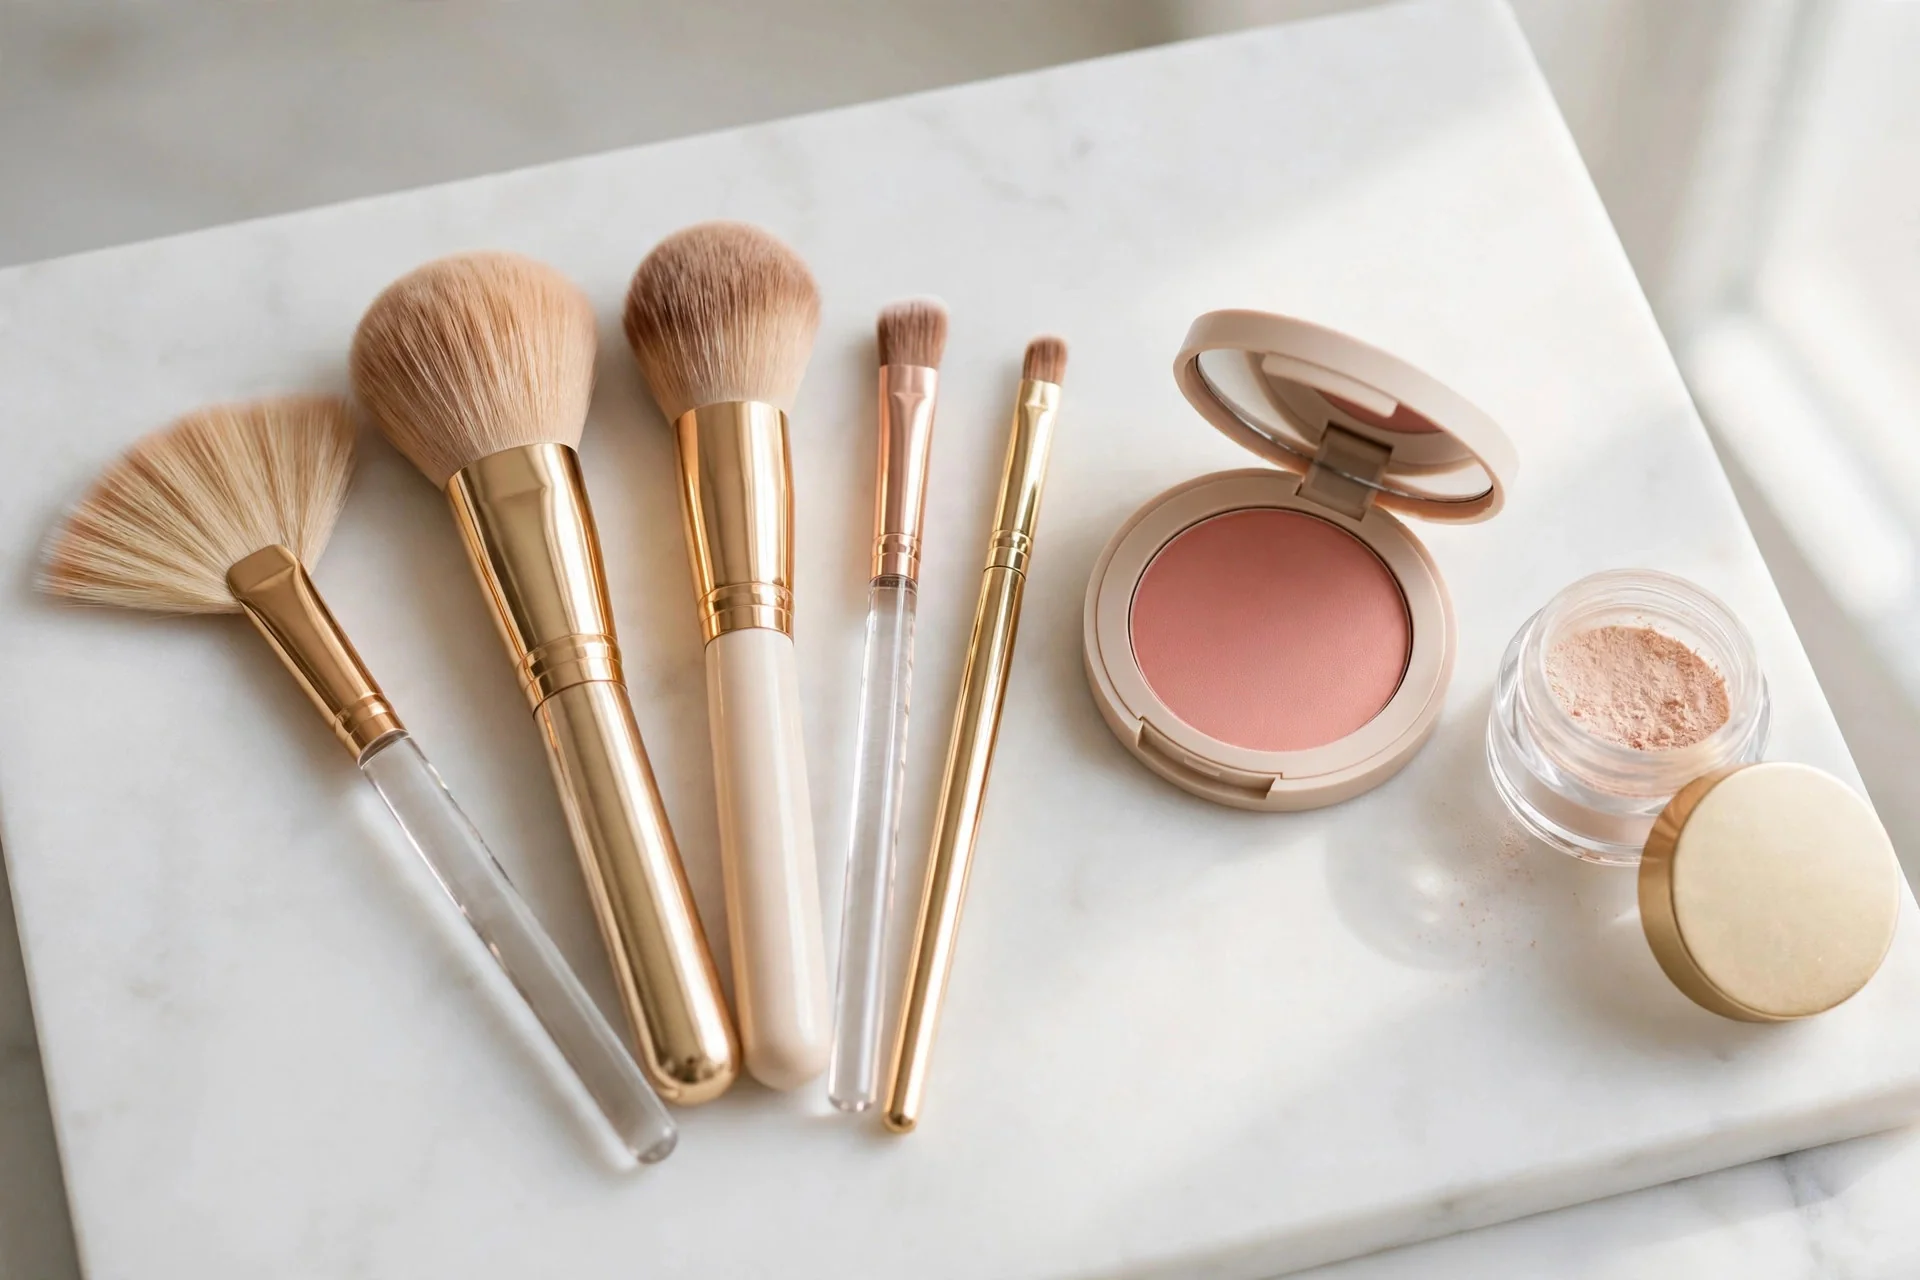
Beauty influencers own 40 brushes. You need three, and honestly, your fingers cover half the job. Warm fingers are excellent for blending cream products — tinted moisturizer, concealer, cream blush — because body heat helps everything melt into skin.
The three brushes worth buying:
- A fluffy powder brush — for setting powder and, later, bronzer or powder blush. Big and soft; you cannot really go wrong with it.
- A medium eyeshadow blending brush — even if you skip eyeshadow for now, it is perfect for softly diffusing concealer edges.
- An angled brush — optional but handy for filling brows with powder if you ever graduate from brow gel.
A $15 to $25 brush set from Real Techniques or e.l.f. covers all of this and will last years if you wash the brushes weekly with gentle soap. Dirty brushes are a top cause of breakouts and muddy-looking makeup, so do not skip the washing.
Your First Routine: A Simple 10-Minute Face
Do this routine in order, and do not rush the blending — blending is 80% of what makes makeup look good. Set a timer the first few times; you will be surprised how fast it goes once your hands learn the motions.
- Moisturize and protect. Apply moisturizer, then sunscreen (SPF 30+). Wait two minutes.
- Even the base. Dot tinted moisturizer on your forehead, cheeks, nose, and chin. Blend outward with your fingers or a damp sponge, pressing rather than dragging.
- Conceal strategically. Dab concealer only where you need it — under-eye darkness, around the nose, on blemishes. Blend the edges so there are no visible lines.
- Set lightly. Press a small amount of translucent powder under the eyes and on the T-zone with a fluffy brush. Skip powder on dry areas.
- Add color. Smile and dab cream blush on the apples of your cheeks, blending upward toward your temples.
- Define the eyes. One to two coats of mascara, wiggling the wand at the base of the lashes first, then pulling through to the tips.
- Finish the brows and lips. Brush brows upward with tinted gel. Swipe on lip tint. Done.
This routine works for the office, brunch, errands — anywhere. Like everything in this makeup for beginners guide, it works because it is simple enough to repeat daily. Once it feels automatic, usually after two to three weeks, you can add one new element at a time: a neutral eyeshadow, a bit of bronzer, or eyeliner.
5 Techniques That Instantly Make You Look Better
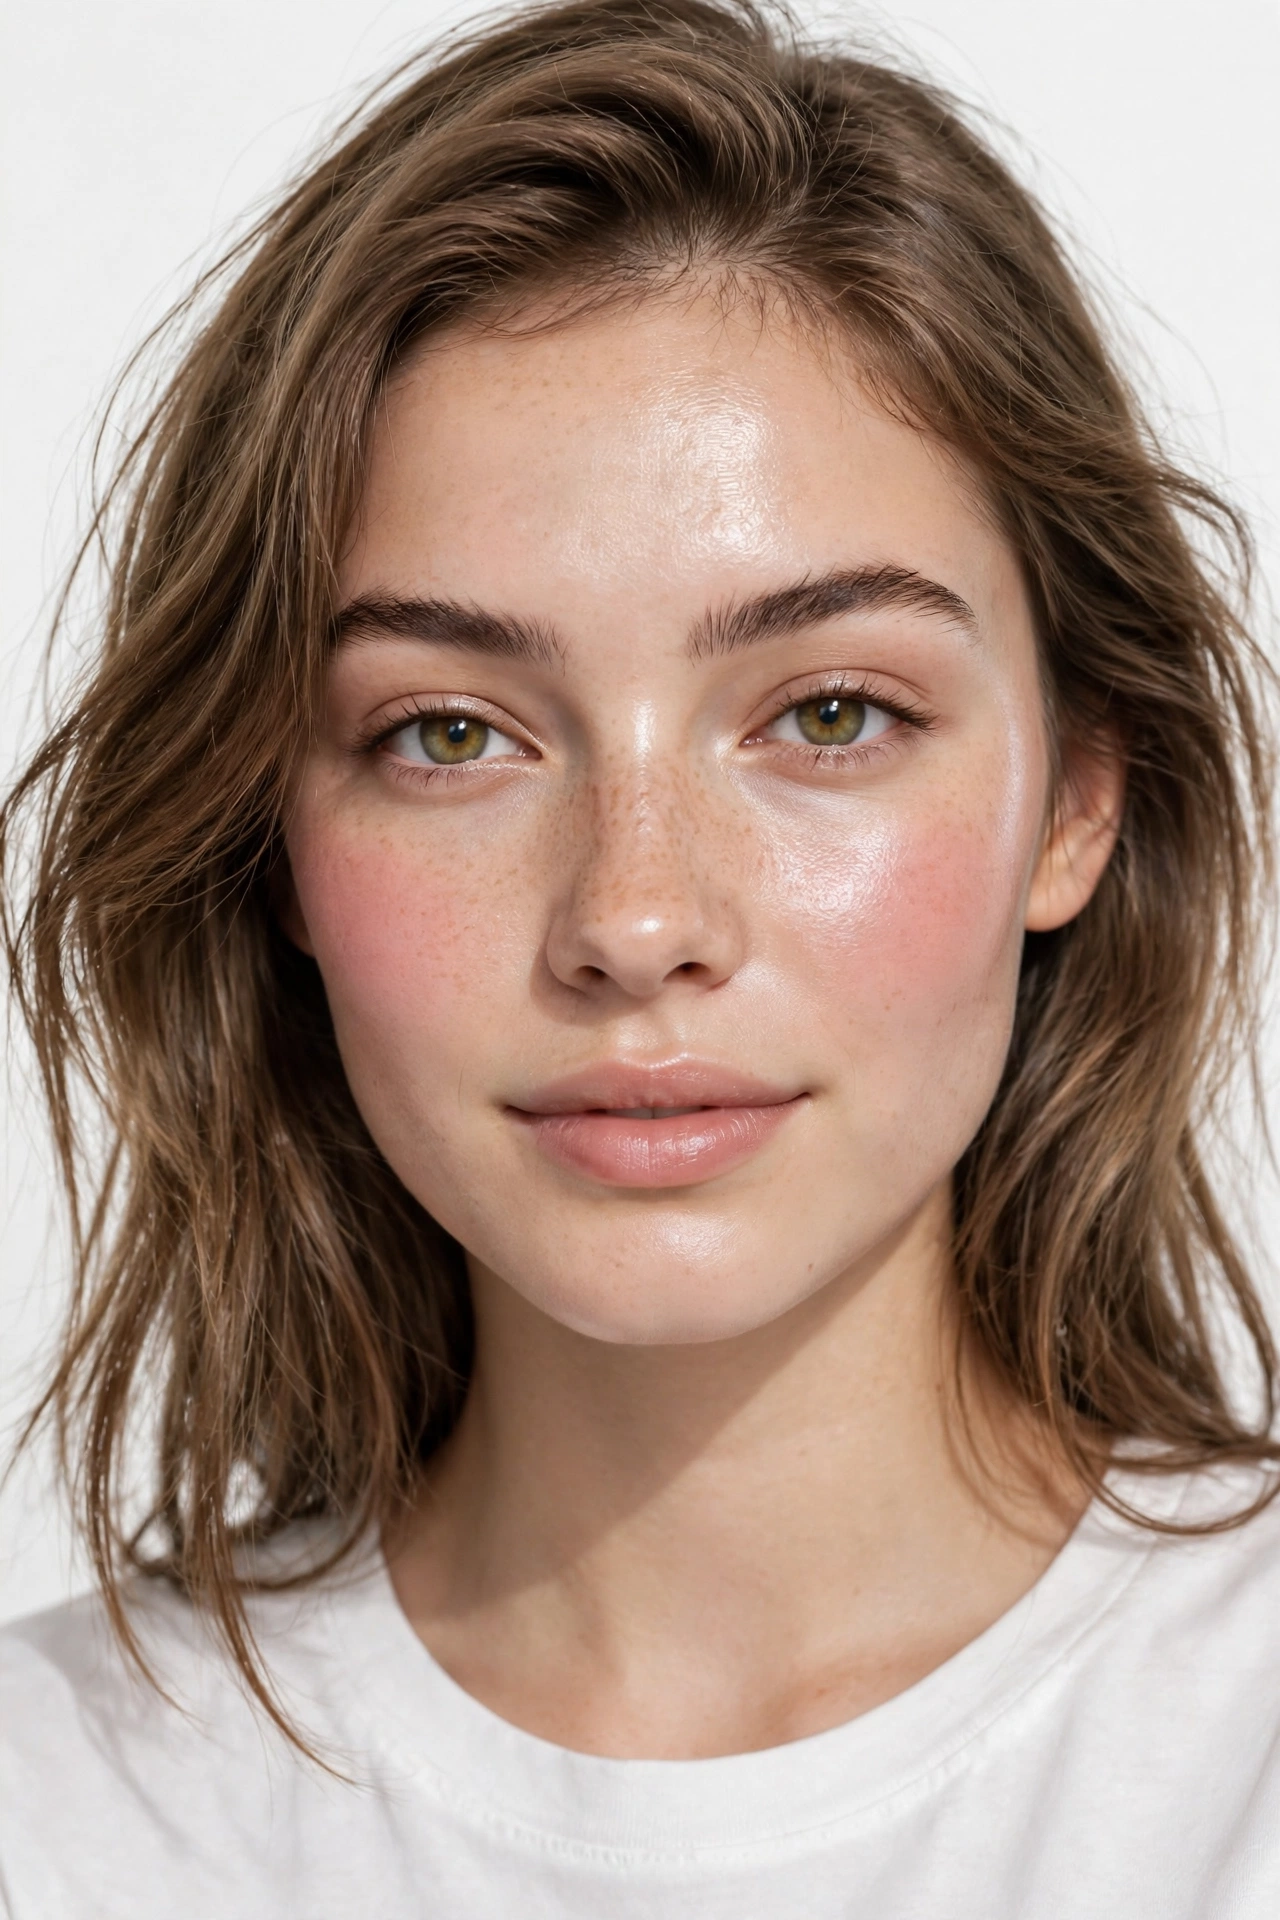
- Blend longer than you think. Whatever you are applying, blend for 30 more seconds after you think you are done. Harsh lines are the difference between “she’s wearing makeup” and “she looks great.”
- Less product, more layers. Two thin layers of concealer always look better than one thick one. Build coverage gradually — you can add, but you cannot easily take away.
- Wiggle mascara at the roots. Pushing the wand into the base of your lashes and wiggling before pulling through deposits the most product where it matters, giving the illusion of thicker lashes without clumps.
- Apply blush higher than you think. Most beginners place blush too low, which drags the face down. Aim for the apples of the cheeks and blend slightly upward — it lifts everything.
- Check your work in daylight. Bathroom lighting is warm and forgiving. A quick glance in natural light (or a window) before you leave catches unblended edges and mismatched tones.
Beginner Mistakes to Avoid
- Buying a full face of products on day one. The most common makeup for beginners mistake is buying too much, too fast. Start with the seven essentials above. Learn them, then expand based on what you actually want — not what an ad told you to want.
- Skipping the shade match. Foundation in the wrong shade undermines everything else. Take the time to match properly — it is the highest-value step in this entire guide.
- Applying powder everywhere. Powder is for oily zones, not your whole face. Over-powdering is what creates that dry, cakey look.
- Pumping the mascara wand. It pushes air into the tube and dries out your mascara faster. Twist the wand instead to pick up product.
- Comparing your day-one face to a professional’s. The people in tutorials have years of practice and ring lights. Your only competition is your own last week.
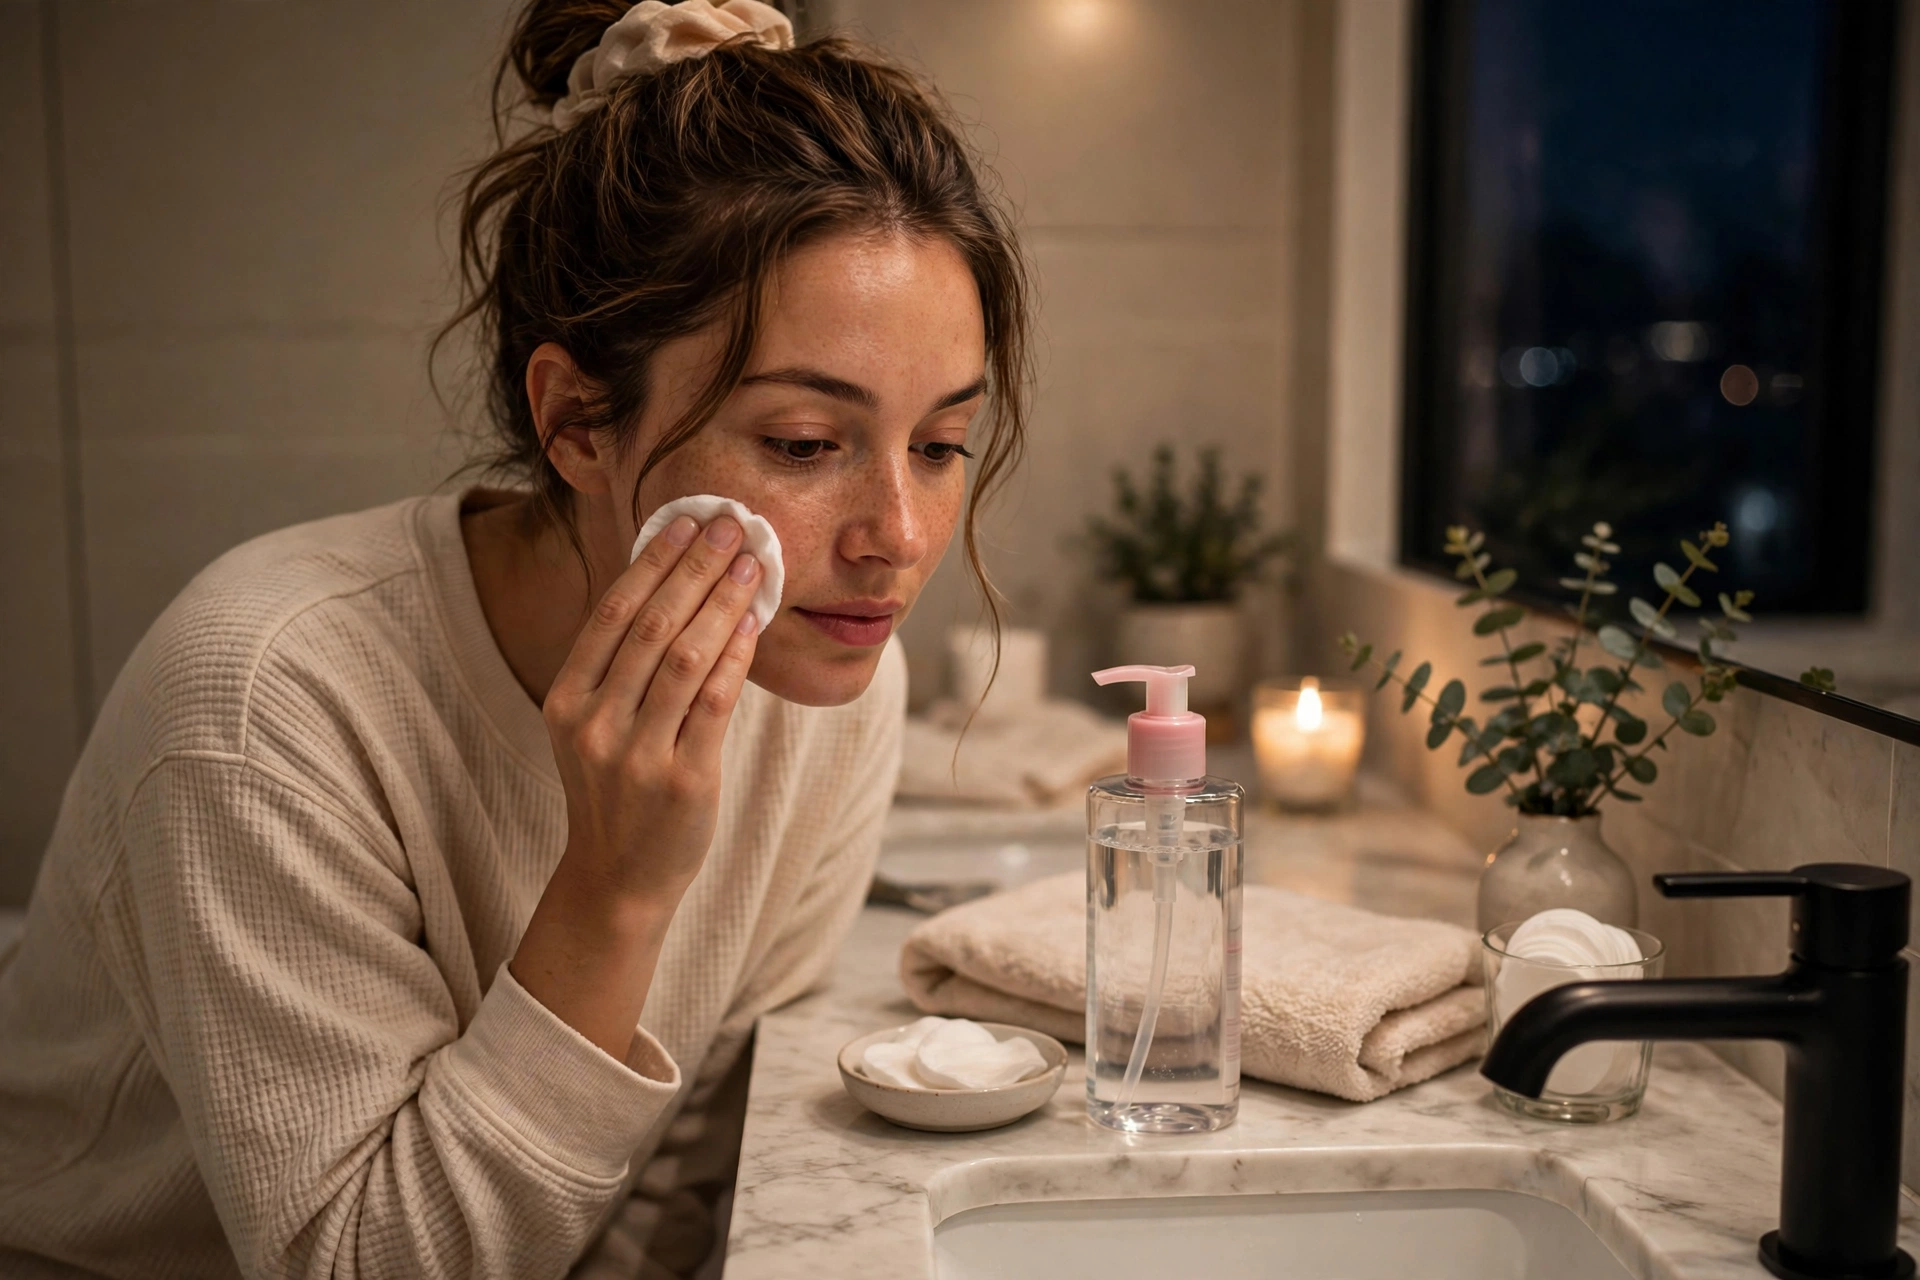
- Sleeping in makeup. Even once in a while clogs pores and irritates eyes. Keep micellar water and cotton pads by your sink for lazy nights — it takes 60 seconds.
Makeup for Beginners FAQs
What makeup should a complete beginner buy first?
Start with tinted moisturizer, concealer, translucent powder, mascara, cream blush, brow gel, and lip tint. This seven-product kit handles every everyday look and costs $60 to $100 at the drugstore. Add products one at a time as your skills grow.
How long does it take to learn basic makeup?
The 10-minute routine in this guide usually feels natural after two to three weeks of daily practice. Do not try to learn everything at once — master the base routine first, then add one new technique (like eyeshadow or eyeliner) at a time.
Is expensive makeup better than drugstore makeup?
Sometimes, but not nearly as often as marketing suggests. Drugstore mascara, brow gel, and lip products perform as well as luxury versions in most cases. Where spending more tends to pay off: foundation shade ranges and complexion products, where the formula and color options genuinely differ.
How do I make my makeup last all day?
Three things matter most: proper skin prep (moisturizer fully absorbed before makeup), setting oily areas with powder, and thin layers rather than thick ones. Blotting papers midday handle shine better than adding more powder, which builds up and looks heavy.
The Bottom Line
Makeup is a skill, and skills improve with practice — nobody’s first attempt is their best. Keep this makeup for beginners mindset: small kit, simple routine, steady practice. Start with the essentials, follow the 10-minute routine until it feels easy, and add new products only when you are genuinely curious about them. And when you are ready to polish the rest of your routine, our at-home manicure guide will get your nails looking salon-fresh to match. You have got this.